DIY: Spurcycle Bell Fix

About a year ago I wrote a review of a little bell with a big ring. Since writing my initial review of the Spurcycle Bell, my feelings about it really haven't changed. In fact I even put a new one onto my dream bike. One thing that has happened since the initial review of the Spurcycle Bell, I've received more than a few direct emails asking about any wear or scratching caused by the included metal band for the bell. This is the band that wraps around the bars and secures the bell.
In the first year I'd ridden with the Spurcycle bell, I had not noticed any marks on my carbon bars but could see how some may have had concerns. However, when my bell did get nudged in a bike pile towards the end of last season, the metal band did cause a few small scratches. That's when I realized that there definitively was some validity to peoples concerns. In fairness the marks are completely cosmetic and not structural damage, but what to do about it? I think I have the answer and I want to share it with you.
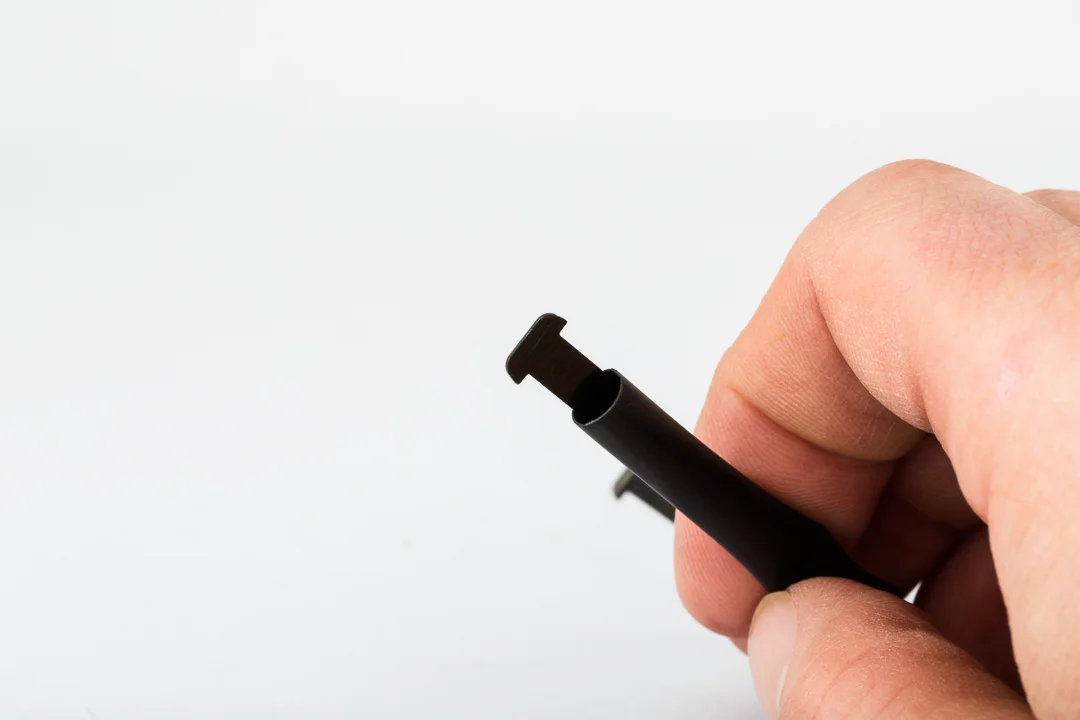
To be open and honest, the answer may have actually come from a knock off bell that is on my commuter bike. It has a similar metal band but that band is coated in soft plastic. That got me thinking… why can't the Spurcycle Bell band be wrapped in a soft material too? If so, how? The actual idea for the fix came to me when I was editing the video for the final chapter in my Project Perfect build. The mechanic, Jesse, used heat shrink to secure the Di2 cable to the brake cable. It's soft plastic that can be wrapped around a length of material and then form fitted around it... Hmmmm.
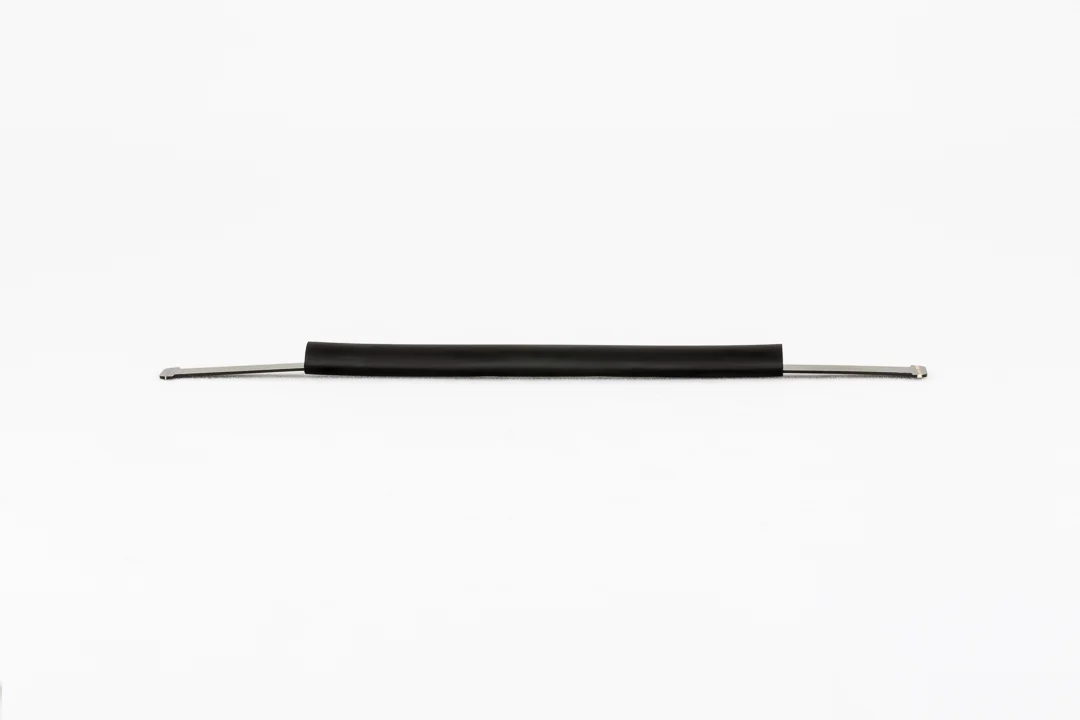
The good news continues because heat shrink is cheap and readily available at any hardware store. It comes in black and white, but most electronics surplus stores will sell it in longer lengths and various colours. For this fix all you need is a single piece of 3/16"-3/32" heat shrink which comes in packs of 5. You'll also need either a heat gun or a hairdryer. The whole process takes about 5 minutes and the end result is great. So good that you can't really tell difference between the before and after.
Here are the steps
- Remove the bell from your bike or the original packaging
- Take 1 piece of heat shrink and slide it over the appropriate metal band for your bar size
- Flatten the metal band out flat (don't worry it will bend back no problem)
- Blast the heat shrink with the heat gun or hair dryer to form it tightly around the band
- Bend the metal band back to the original shape. You can use the spare band as a guide.
- Re-install the bell to your bar using the now soft wrapped metal band.
- Admire your DIY skills!
There you go. A $2 fix to a first world problem. Your bars are now cosmetically protected and the Spurcycle Bell rings as loudly and beautifully as it did before. In fact, I think it's likely even more secure now with the extra bit of grip from the soft rubber.


