Saddle Recovering... again

Just about two years ago, I decided to try my hand at a new project; recovering saddles. I had a saddle that I really liked, but it looked worse for wear. It really deserved a renewed life on the bike. So I started researching for tutorials or lessons on how to recover a saddle and found enough info to go on. Thankfully, growing up I had a family member who made a living working with leather. So I'd seen enough to know that I should have been able to pull it off. Since I take photos and notes for all my projects, I ended up putting together a my own step by step write up on how I pulled the first one off. You can read it here. That first saddle is the one I put on my forever bike in The Perfect Project.
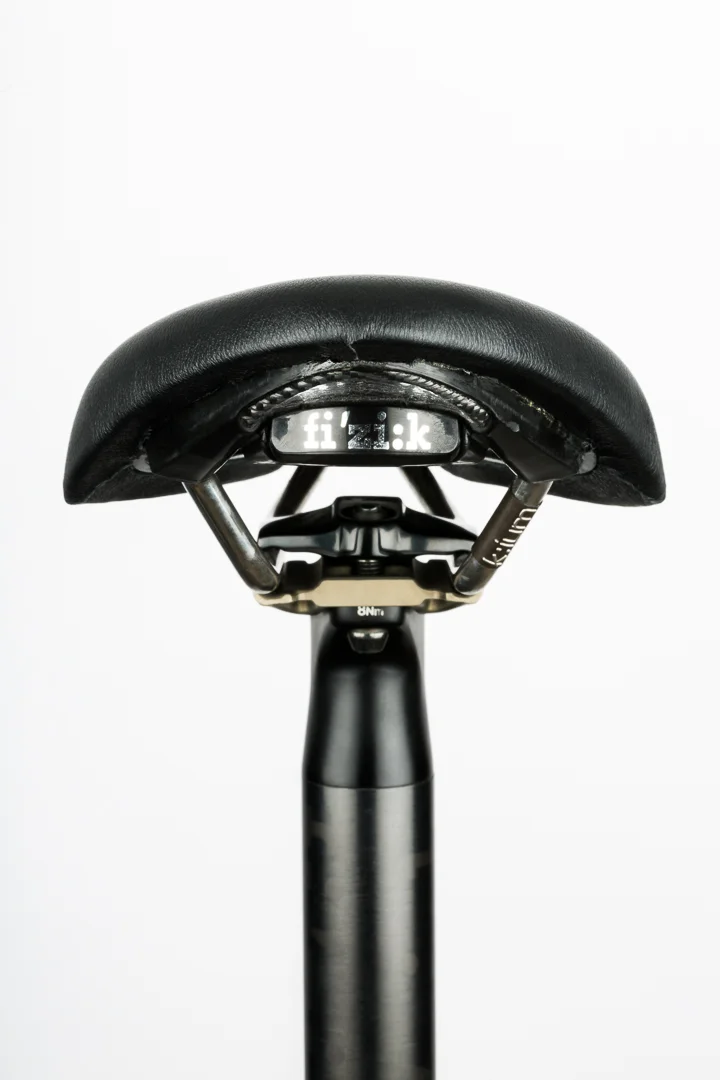
But why are we talking about recovering saddles again? Winter has firmly set in here in Canada and that means project season is in full swing. Over the holidays I picked up a more couple of battle scarred saddles work on. What I grabbed was an older Fizik Antares R3 (equivalent to current R1) from the shop and an older Fizik Arione K3 Tri from, Jesse, the in house Mechanic.
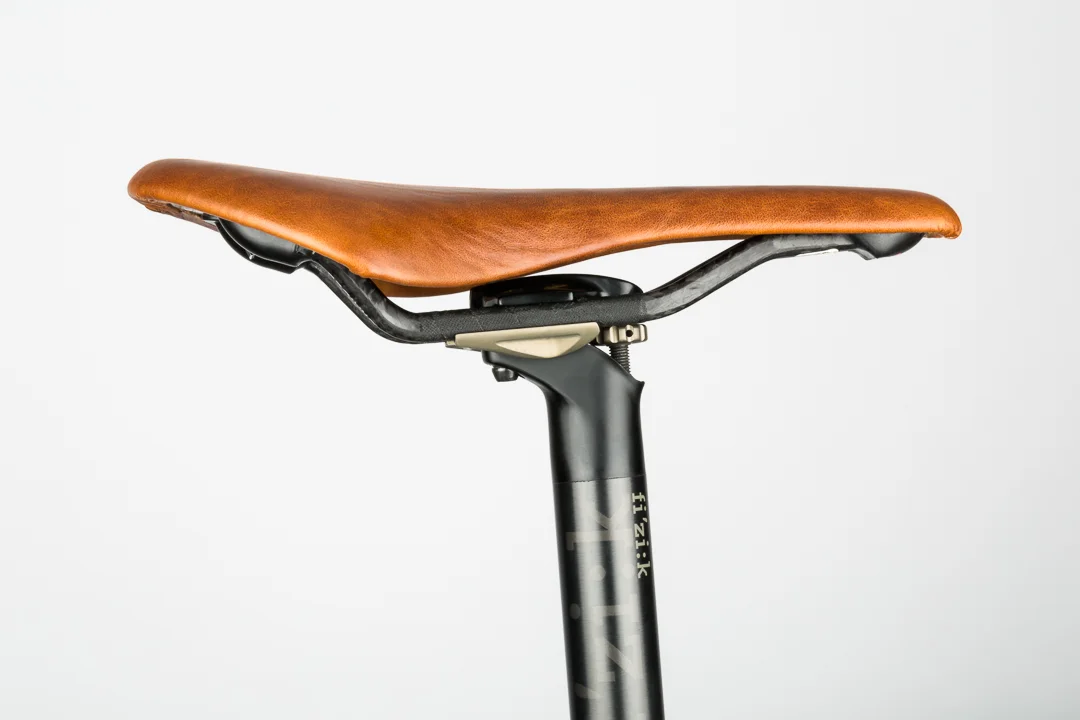
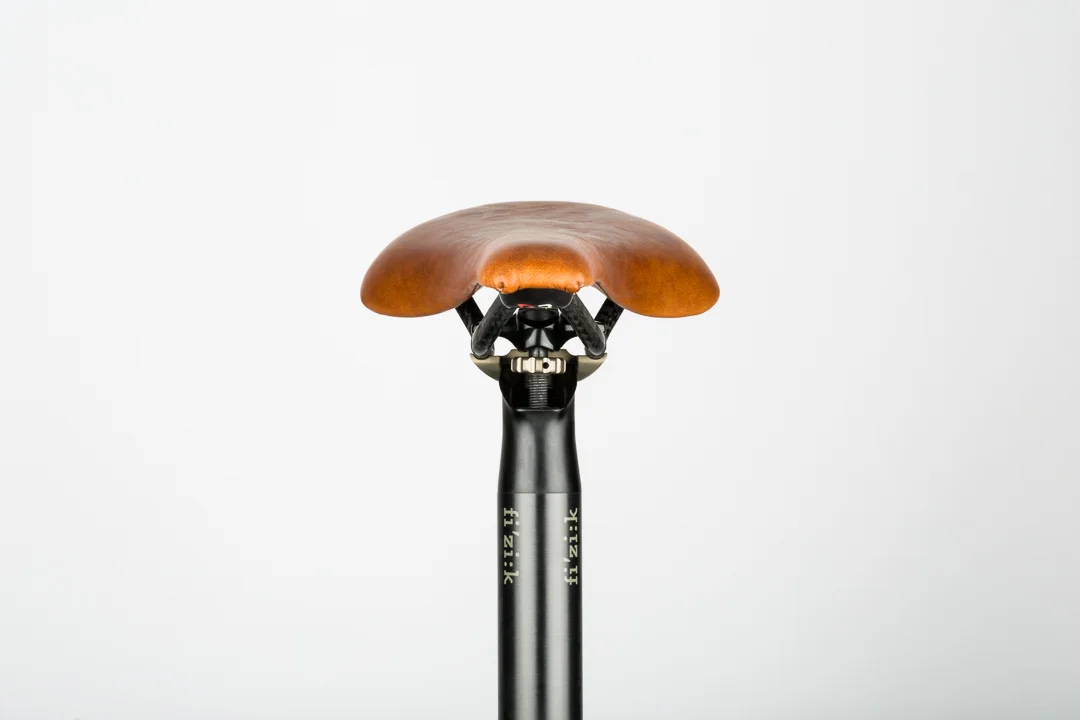
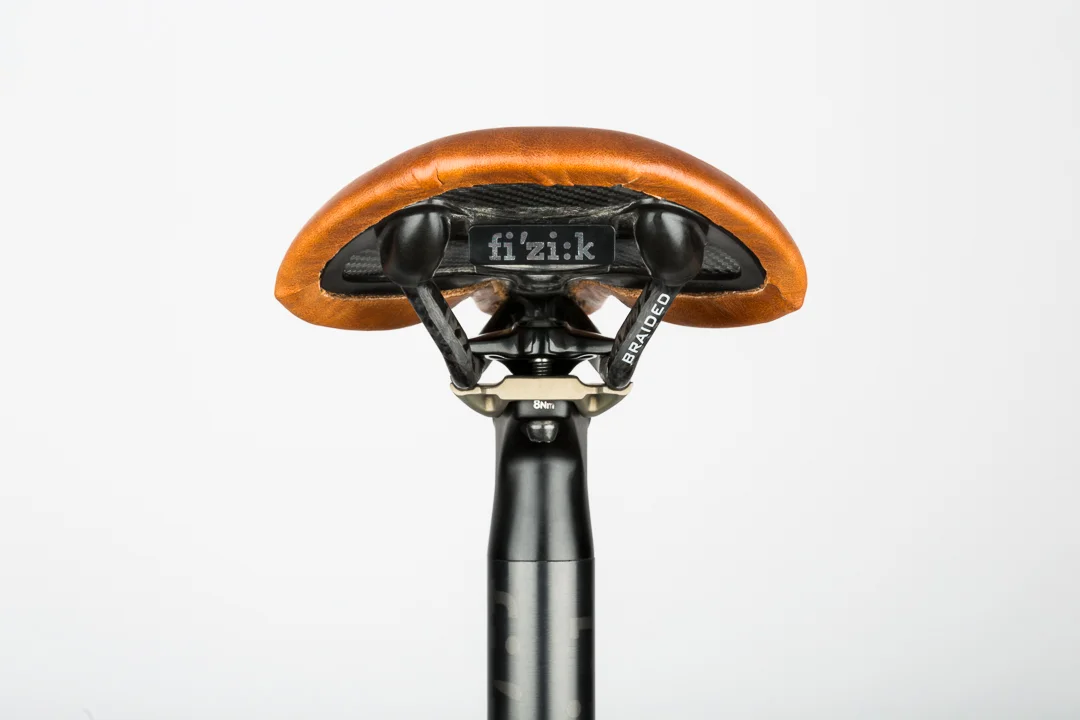
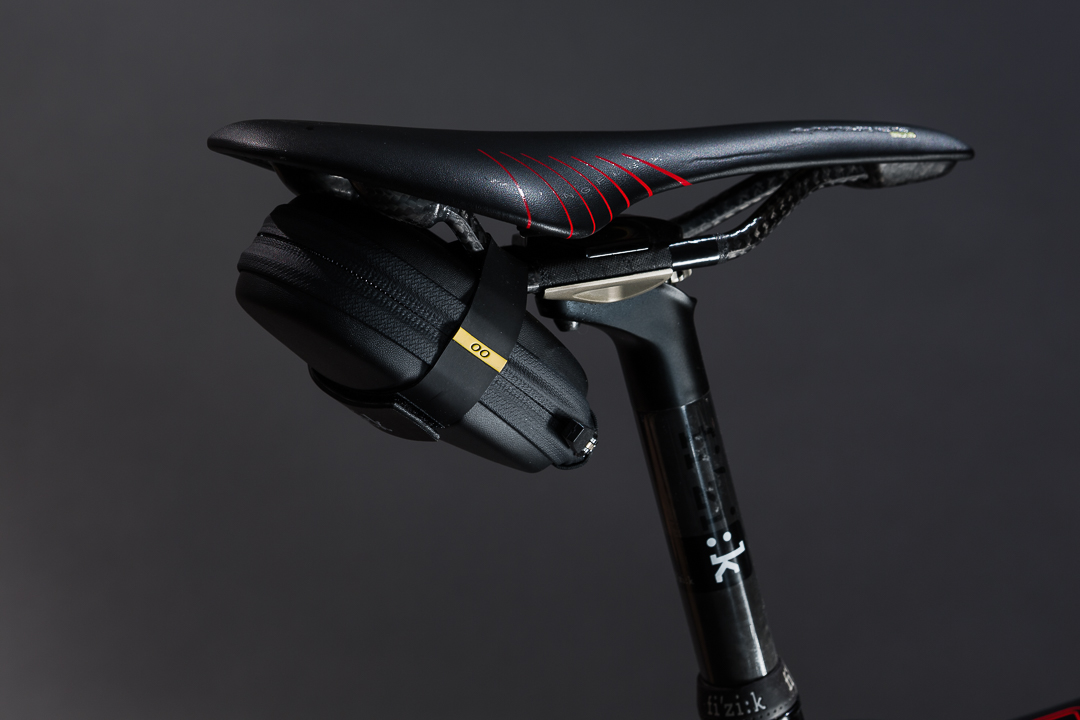
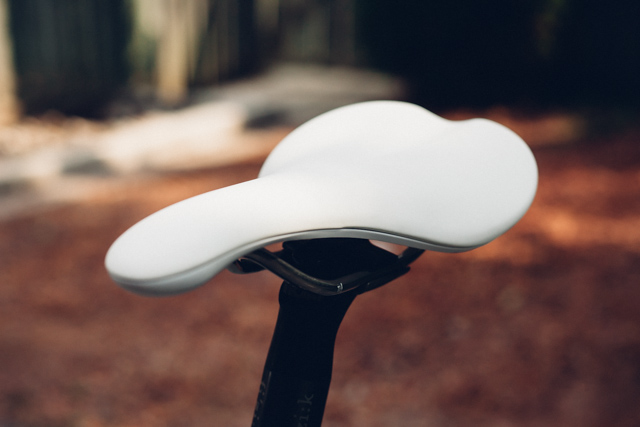
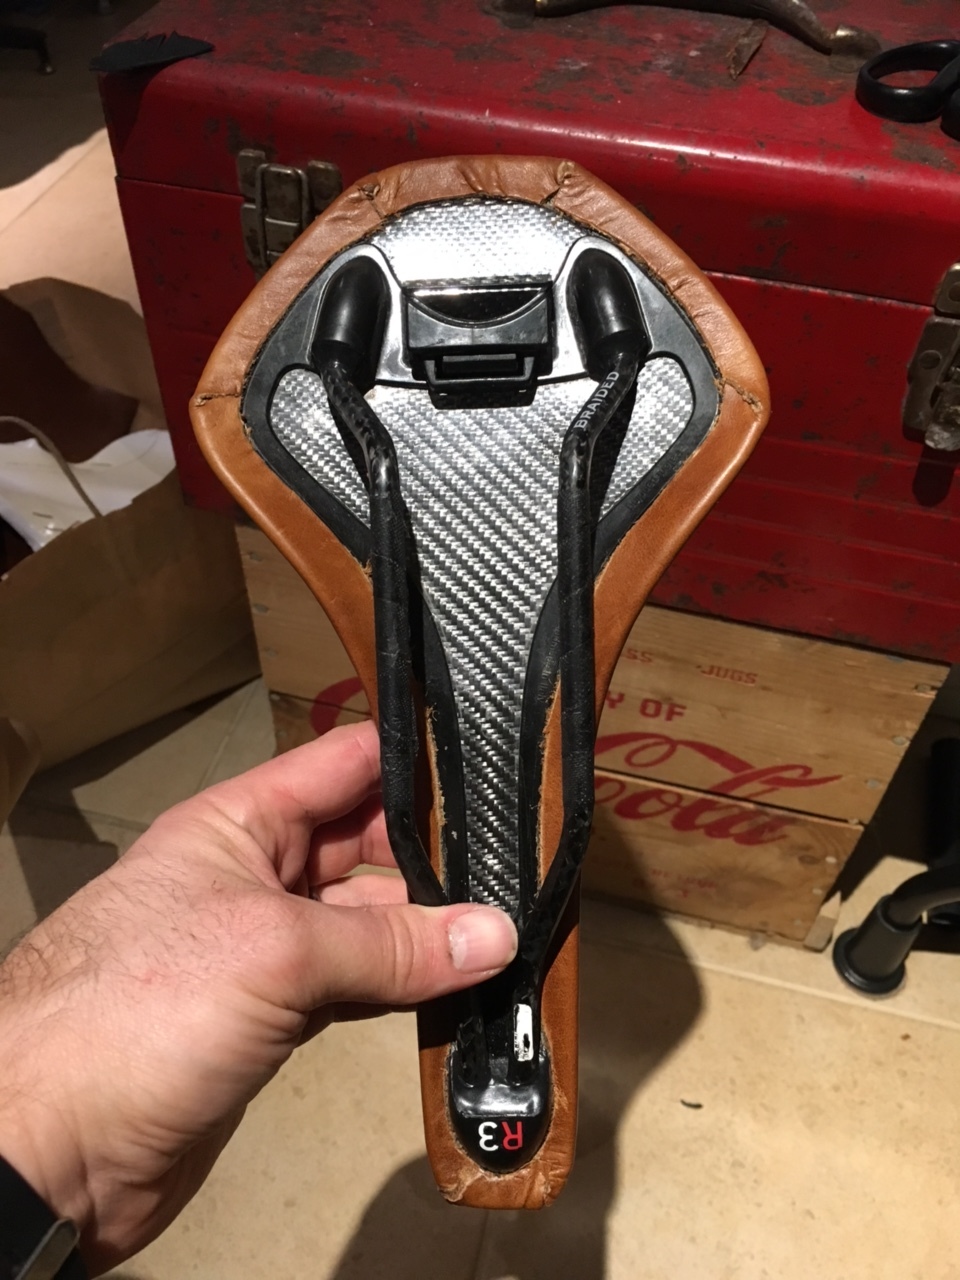
The Antares will be for shop owner, Mike Y, and is being recovered in their signature cowhide leather. It's the same leather used in the interior design of the shop. Since the Antares is my current saddle of choice, I'm in love with Mike's recovered R3. It tips the scales at a paltry 175 grams with the new cover on. Not bad for a saddle that was made in late 2012. The best part is that the signature shop leather is going to develop an incredible patina over time. If I had a bike that this would match, I'd be making one for myself. It's stoke worthy.
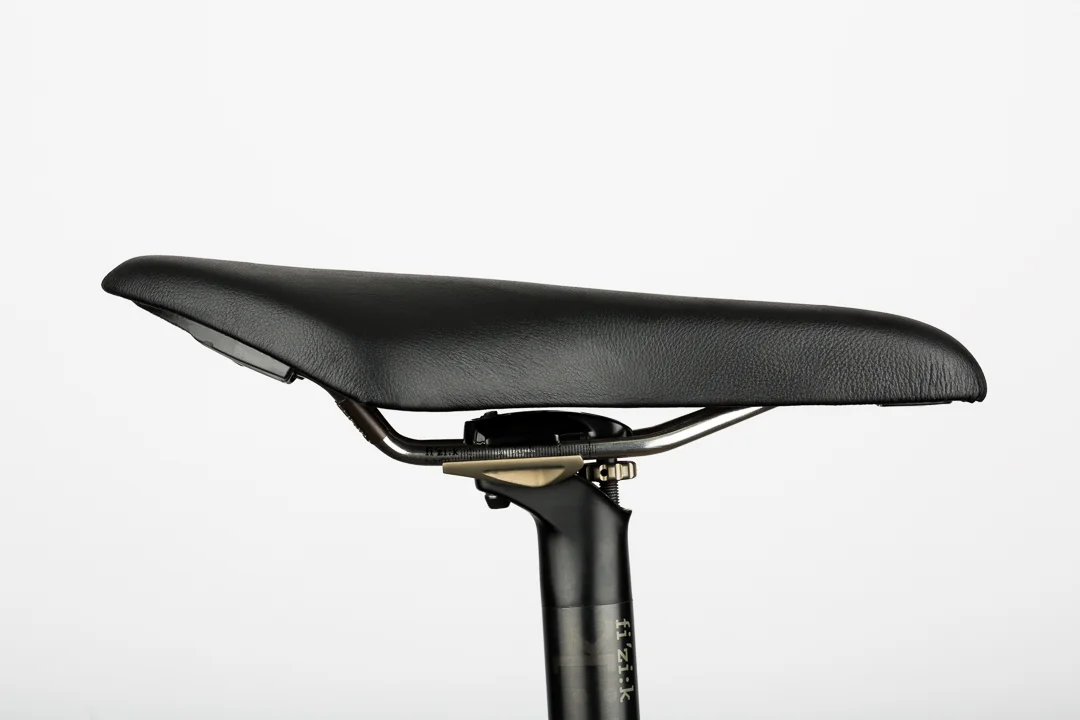
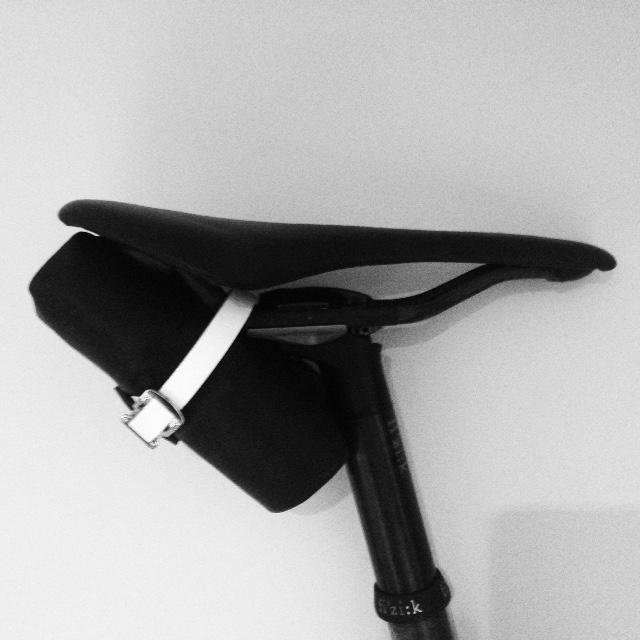
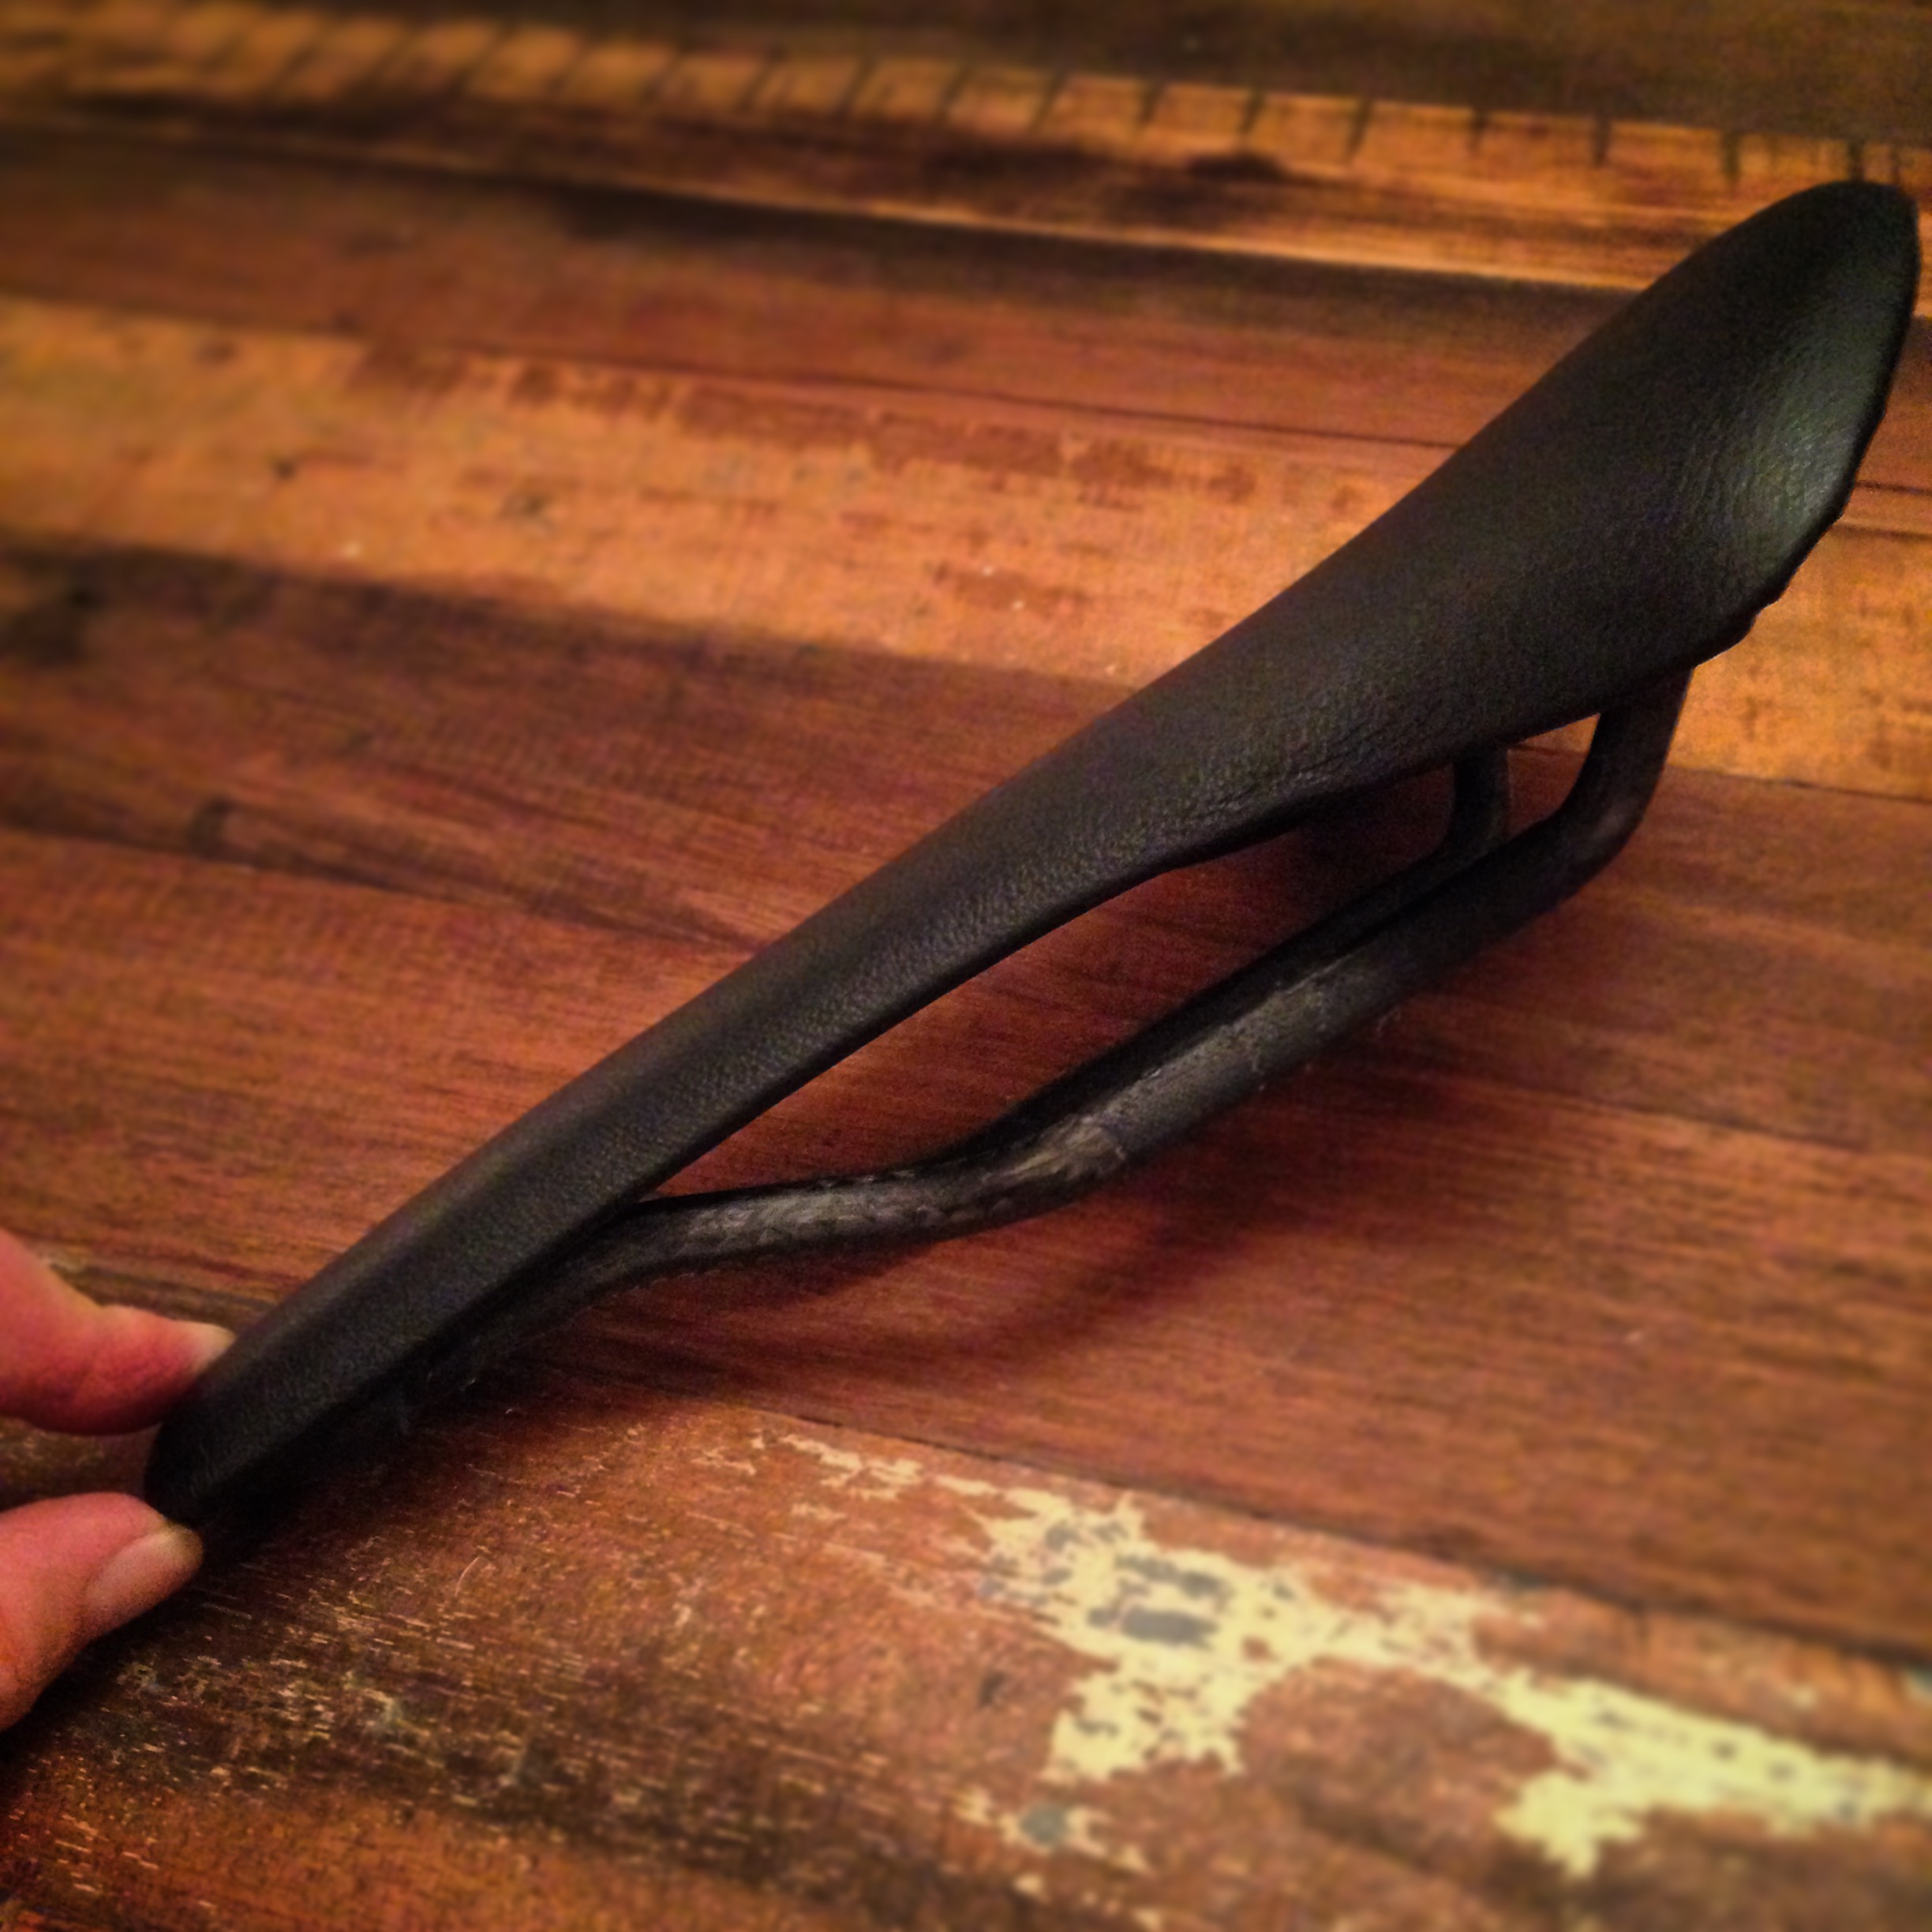
The Arione for Jesse is recovered in the same black goat leather I used on the first saddle. I know from riding my own first recovered saddle, that the new leather on Jesse's Arione K3 will be really durable and wear very well. With the new cover on, it tips the scales at a heavier 235 grams. That's because this particular Arione is much thicker than the normal Arione since it's actually the Triathlon version. There is no doubt that it will provide a very cushy ride to smooth out any harshness in his super stiff Storck Aerfast Platinum. Or any beast he adorns with it.
Rather than just rehashing an old blog, I figured I'd post up some new tips to build upon the first post. And since the original tutorial didn't have the best quality photos of the finished product, I'm updating that too. So here are some tips to add to the first tutorial. (see the end of this post for photos)

Line up the new cover and pull it snug and tight around the saddle.
Bring the new cover securely and tightly right up to the edges of the saddle.

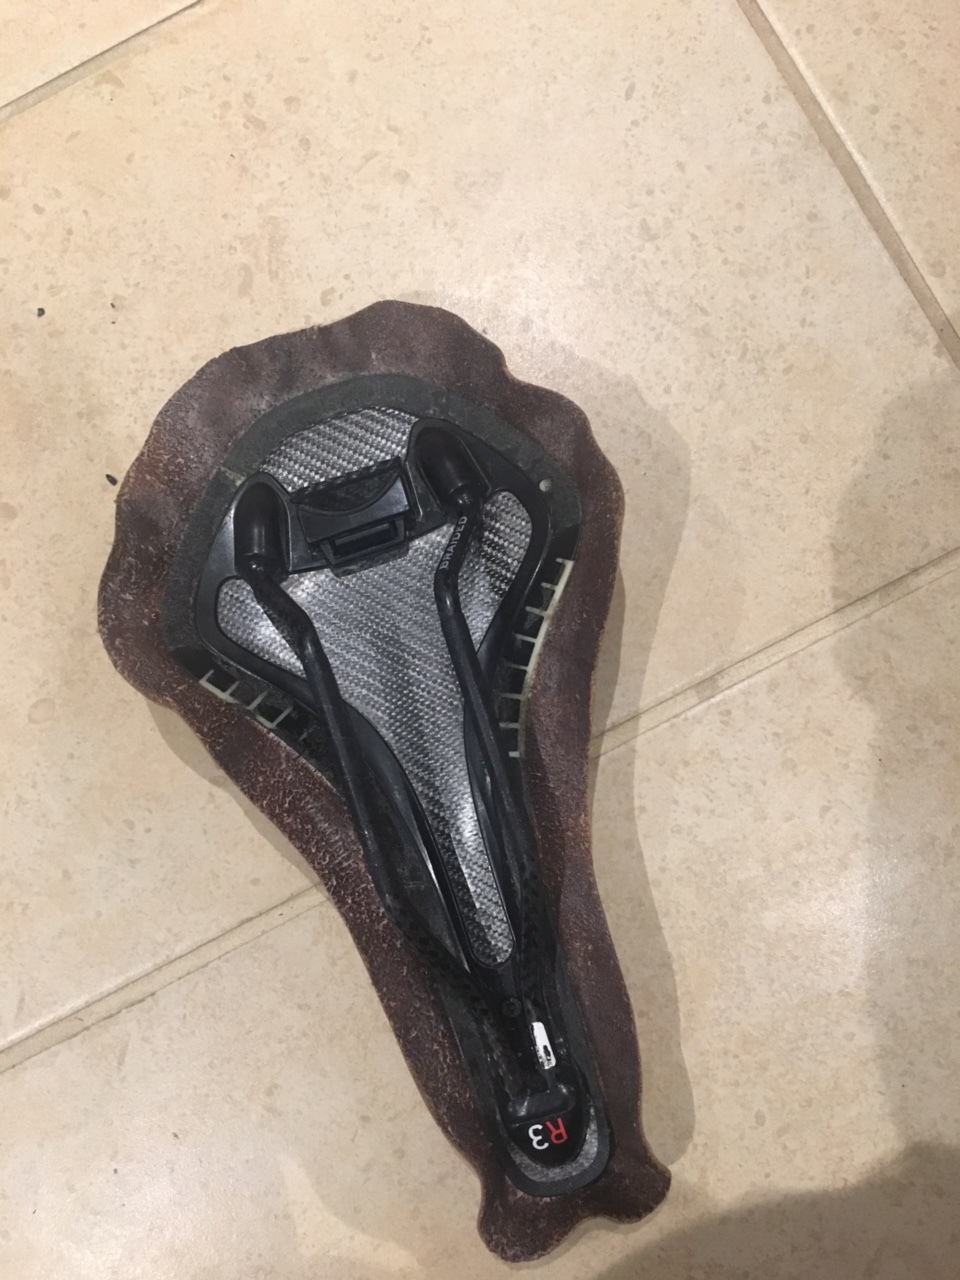
I used Barge Cement to adhere the cover to the underside of the saddle shell.
Here you can see the result of the nip and tucking of the cover under the saddle I spent a bit more time making sure it was cleaner after this photo was taken.
Go Slow:
Like all good things, it takes time. A lot goes into recovering and refinishing the saddle, but going slow is the key to doing it right. It minimizes mistakes which you'll inevitably have to fix later. Also, resist the urge to start moving quickly when things are going well. Remember, slow and steady.
Right Adhesive, Right Place:
In the first tutorial, I used 3M Super 77 spray adhesive on both the underside of the new cover and on the foam. This worked really well. But it did come apart in a few places where it attaches to the underside of the shell. I later repaired this with All Purpose TF Barge Cement and it has held extremely well over the course of two seasons.
Nip & Tuck:
While it's unlikely anyone is going to see the underside of the saddle when it's mounted on your bike, it's still proper to ensure it has a good clean finish underneath. I've found that it creates a cleaner trim if you use the corners in the shape of the saddle as places as a natural spot to fold, nip, tuck, trim the new cover.
There you have it. A couple new tips to add to the first tutorial on how I brought a few road saddles back to life. The second batch came out a little bit nicer than the first. It's exciting to keep working on this and getting better at it. It feels nice to be able to help some friends with a personal touch while bringing perfectly good saddles back to life.
If you're interested in doing this yourself, most local shops and friends have a few lying around. You just have to ask around. And, if you've got any tips to help, please share them in the comments below. If you're too afraid to try, or you want something much more intricate, there are some incredible people doing some even more unbelievable custom work. I personally know of Busyman in Australia and Leh Cycling in Austin, Texas. Check them out.