The Perfect Project: Part 5

To any cyclist, there is no day held in higher regard than #newbikeday. It's the end of the wait and the beginning of the future, all at once. It's so exciting to say, that for me, the wait was finally over. It's been a long, fun ride but now my perfect project has become reality.
Having gone about 6 months from start to end means I've had plenty of time for thinking. In my head I'd tossed around endless ideas of how to cover this pinnacle chapter. Here, as in the beginning, it is important to find the right narrative angle. Just like it's done in any good book. The approach I've settled on is to break this chapter down into three parts. The build process, the final product, and the first ride. Here we go!
Build Day
To be honest I'm not sure what was more exciting; the day we kicked off this project, or the day we built the bike. The initial consultation was filled with anticipation of all the unknown adventures ahead. It felt almost too... surreal. Inversely, build day made everything feel too... real. There were would be no more details to organize, no parts to be delivered, nothing left to obsess about.
Until I started my relationship with Blacksmith Cycle, I'd built and maintained every bike I'd ever owned. Any bike bought pre-assembled was immediately torn down and rebuilt the way I wanted it. While sure I could have put this bike together myself, I know that I'll never do it as well as in house master mechanic, Jesse. His technical skill and attention to detail are second to none. Through this whole process he has helped me make critical choices and considerations to the build list. Much of how this bike has come together is attributed to his knowledge and I am really proud to say he built my bike.
Most mechanics, and I have no explanation for why, don't seem too interested in freely sharing their technical knowledge or allowing you into their space. Not Jesse. When I proposed the idea of filming him building this bike I wasn't sure how he'd respond. But he was immediately on board! Together we plotted out the idea to give a glimpse into how a whole bike comes together. Why? Because whether you're buying an off the shelf assembled bike or building a custom bike, most people never see more than a few parts of the process. Let alone the whole thing. We thought it would be cool to let people in. For someone like me who has to know how things work, this is awesome insight.
Take a look at a few still shots from the build and the short time lapse video. Sorry that it ends short. The camera stopped working just before the bar tape got wrapped.
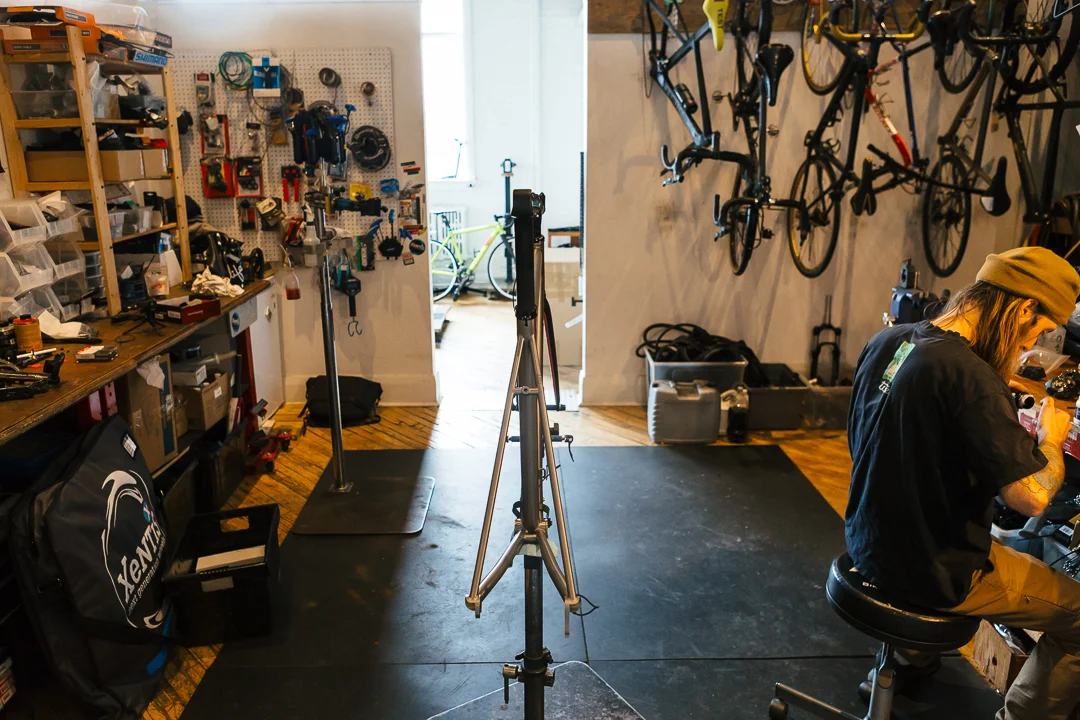
Jesse preps parts at the work bench.
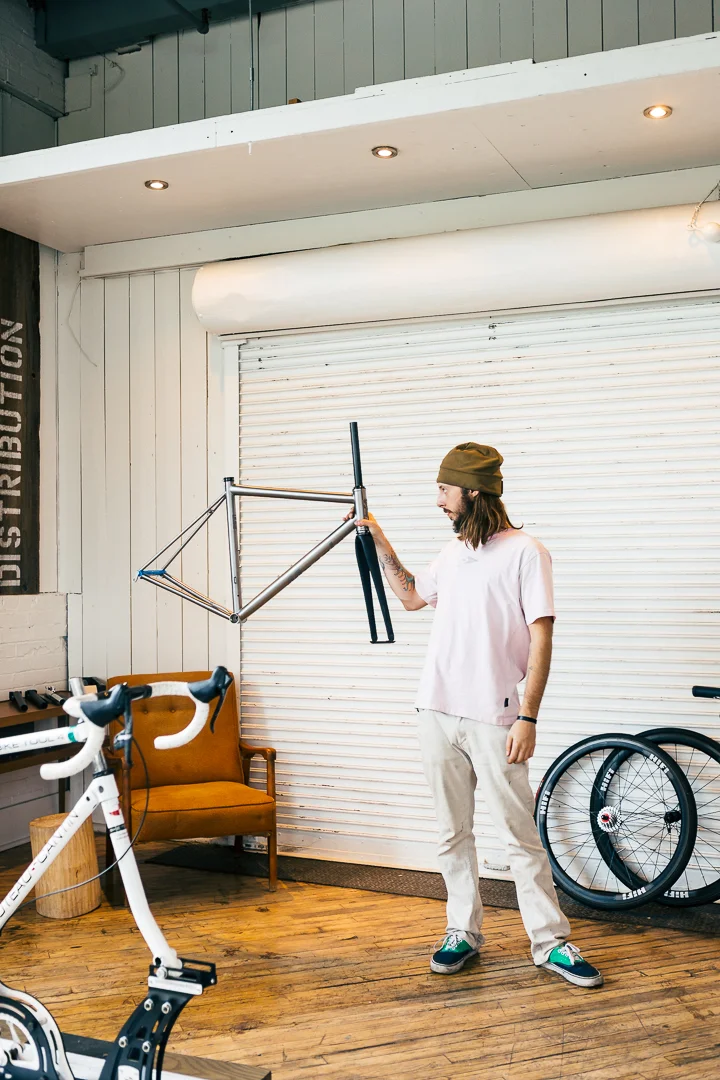
An artist inspects the canvas before the work begins. Jesse looks over the Mosaic RT-1 frameset ahead of build day.
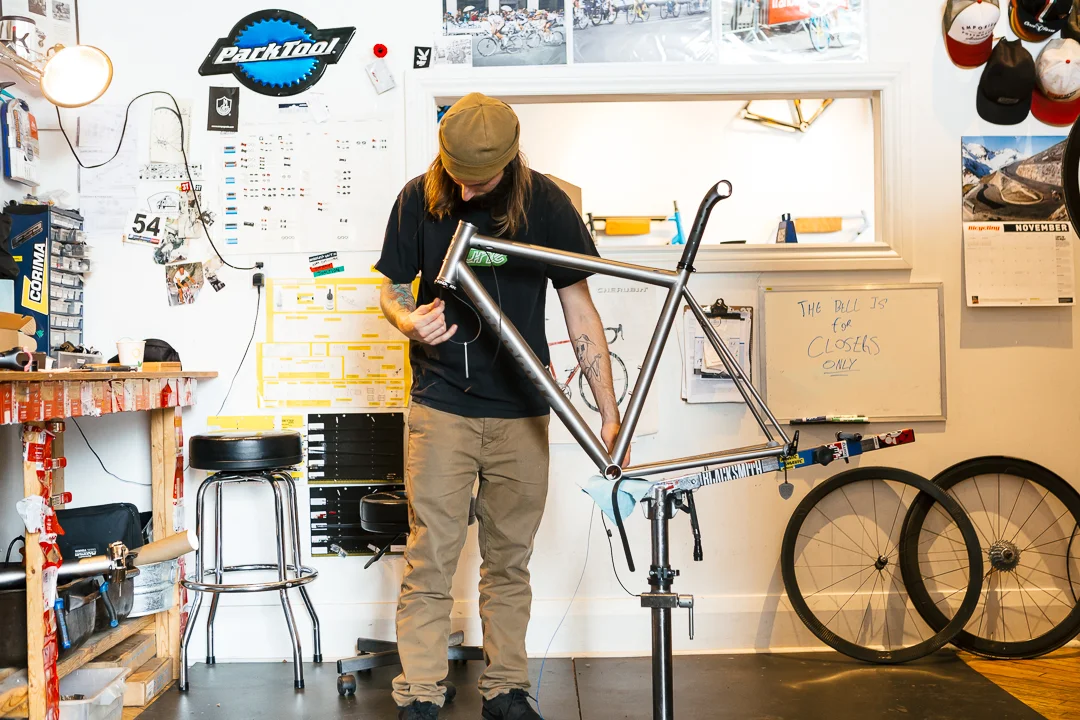
A big part of the build process is cable routing via the head tube and down through the head tube.

Jesse talks me through the steps of the build process. An invaluable experience for a details person like me.
The Final Product
Life's motto: "It's worth it to sweat the small stuff." Therefore it's no surprise that I probably put as much mental energy into the build list as I did into anything else about this bike. Why spend all that time and effort on the frame and then wrap it all up in a subpar build? No way, not my style.
Carrying forward the consideration that went into the frame (reliability, dependability, comfort), I settled on a selection of components from Chris King, ENVE, Shimano, Tune, eeCycleworks, and AbsoluteBlack. Many of these parts were chosen because of their reputation and my direct experience with riding and writing about them in the past. These are some of my favourite components and I was 100% sure I wanted them to be on my forever bike.
Why Chris King? Their reputation precedes them for good reason. Their stuff just works... and works real good. I've always looked at the premium paid for Chris King components as being an investment because they are parts for life. And since this is my forever bike, I want it to be dependable. So everywhere I could, I put Chris King parts.
Why ENVE? For this one it came down to comfort. On some of my former bikes I've fitted them out with ENVE parts and been really happy with the construction and performance of their cockpit parts. So the final build list had to include an ENVE cockpit to match the included ENVE fork. I don't have a set of ENVE wheels anymore but I really like the ones I had.
Why Tune? There is no shortage of exotic low weight aftermarket parts but Tune seems to strike that perfect balance between weight savings and functional performance. My other bike is decked out with Tune parts top to bottom and so I carried over some of my favourites to the new build list.
Why eeBrake calipers? There is no good reason not to. When I rode and reviewed the eeBrakes I became an instant fan. The eeBrakes are a little bit of engineering genius. Since I already had a set I yanked them off my other bike and put them right into the build box. This bike deserves the best.
Some small and hidden part selections include AbsoluteBlack drive train components. In the past I've ridden and reviewed the inner and outer oval chain rings to high praise. Every bit of help I can get when the grades begin to rise is appreciated so I quickly decided to add their inner ring to my forever bike. There's nothing more unfortunate than the chew marks a dropped chain puts on a bottom bracket. When they recently released a braze- on chain catcher, I quickly jumped on it and ordered one to put in the build box. For a few grams, it's a worthwhile investment in my opinion.
One of the very personal details on this build is the saddle. Rather than the Fizik Antares 00 I ride on all my other bikes, I went with a Fizik Antares Braided Carbon that I recovered myself. It's got a bit more soft flex than the 00 so it's performance matches the ride characteristic of the frame. And I like that I recovered it myself. Strapped in behind it is a matching saddle roll that I made myself. I'm a fan of the classic saddle roll and I like the matching vibe with the recovered saddle.
Another detail I am really stoked on is the bar tape. I wanted something with a bit of style and that would match the overall design. Through a bit of digging I came across the Rapha x Cinelli limited edition bar tape. It has that classic Cinelli quality and the black with perforated Giro pink accents the Maglia Nera theme perfectly. Looking at it now, I feel like the build wouldn't be right without it. It was sold out for a period of time but I was able to track down a set for the build. The good news is that it appears to be back in stock now.
Oddly enough there seemed to be quite opinionated feelings about the bottle cages. At first I had been inclined to go with my favourite carbon cages, but it was expressed that it would be sacrileges to go with anything but King Ti cages. Clearly I was wrong and they were right. Reminder again to listen to your trusted advisors.
Finally, the idea of adding power to my bike has been on my mind for a while. Having it as part of my smart trainer in the winter is always something that I enjoy. After hearing the recent VeloNews podcast on power meters, I was even more intrigued. Right in the middle of the build a conversation on power meters broke out and we debated the pros and cons of adding one in. You can see this happen in the time lapse video as we all gather at the pass through window. In the end we slapped on a Stages V2 left sided power meter. Considering this is my forever bike, why stop short?
Using the build list breakdown from the Weight Weenies Forum I've put together a full components list. Jump past the next gallery to check it out.
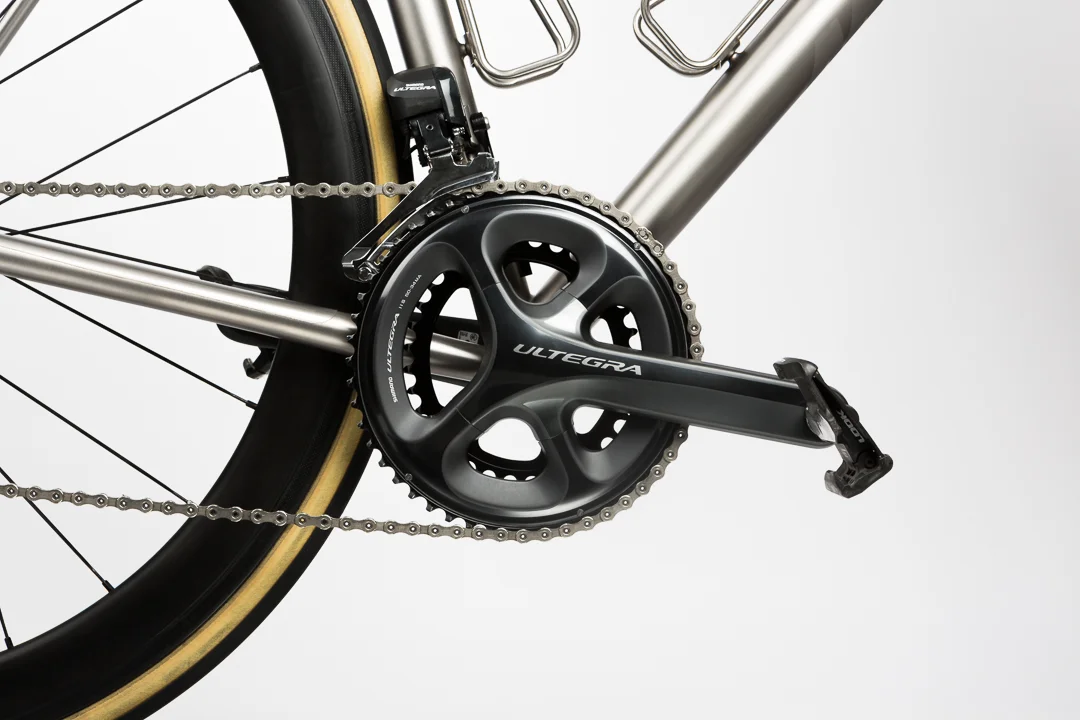
Super clean bottom bracket area on the Mosaic RT-1 with a hidden AbsoluteBlack oval chain ring.
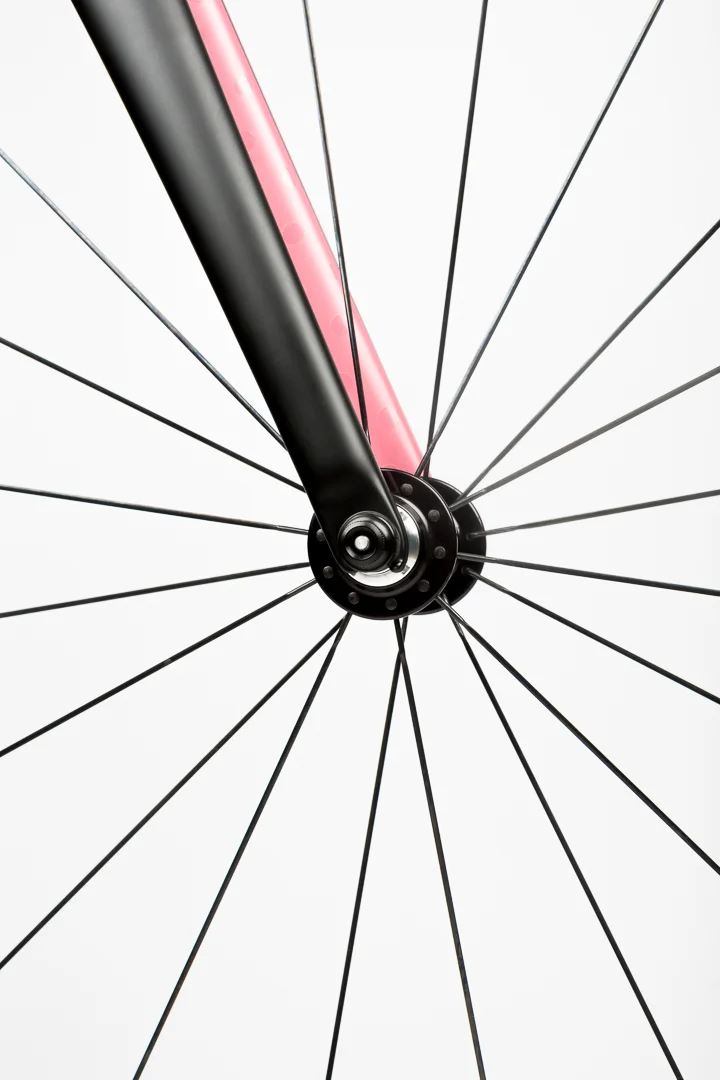
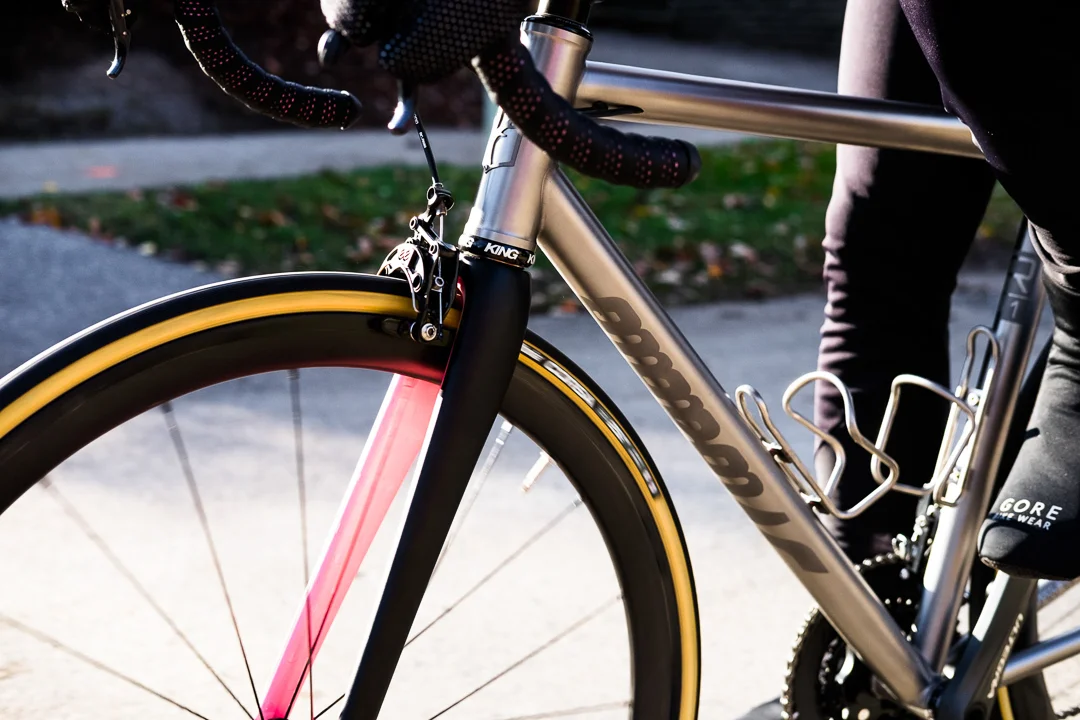
Gloss polks dots poking through on the Giro pink lined fork on the Mosaic RT-1
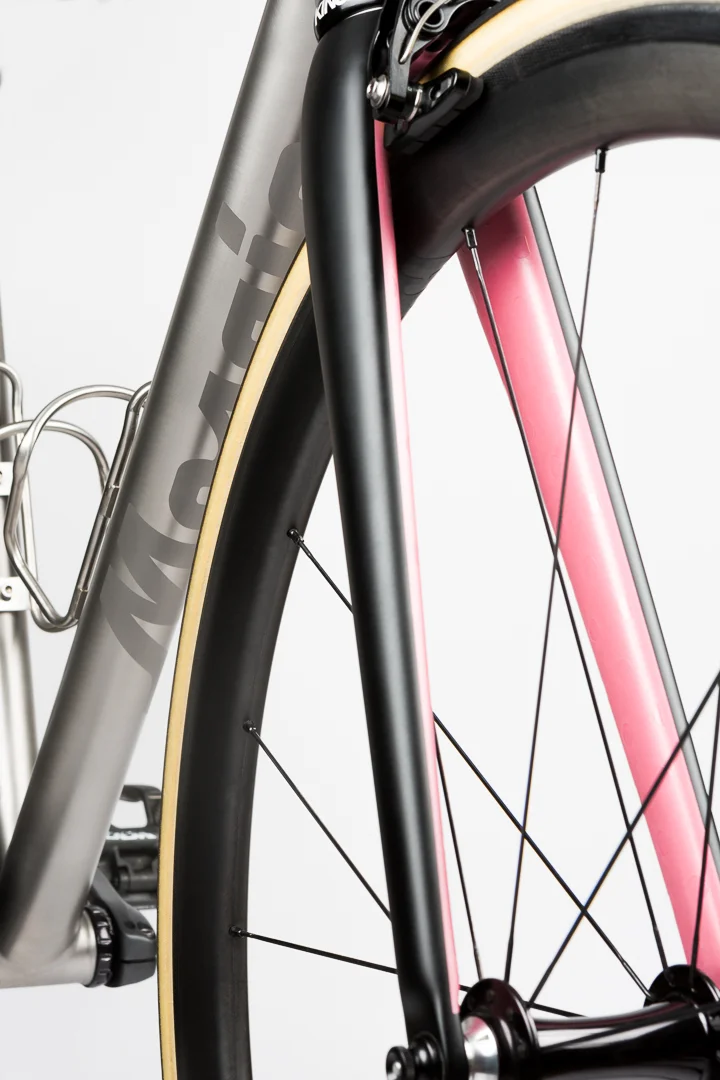
Still love the underside placement of the Mosaic logo on this RT-1
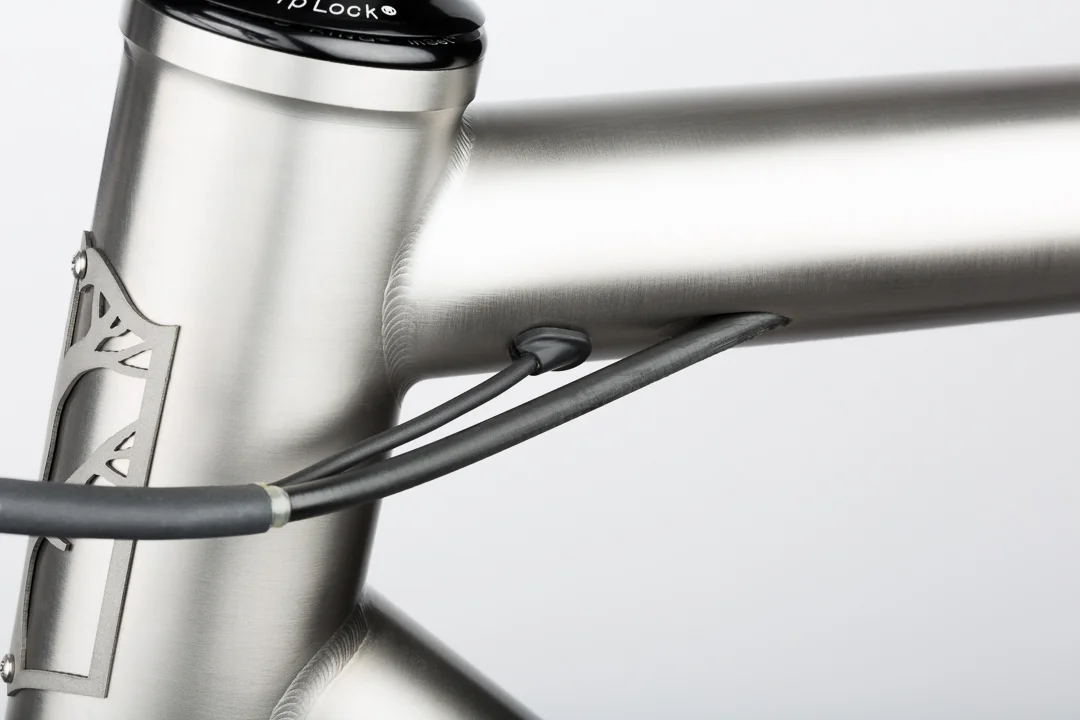
The top tube Di2 entry on the Mosaic RT-1 allows for the cleanest cabling.
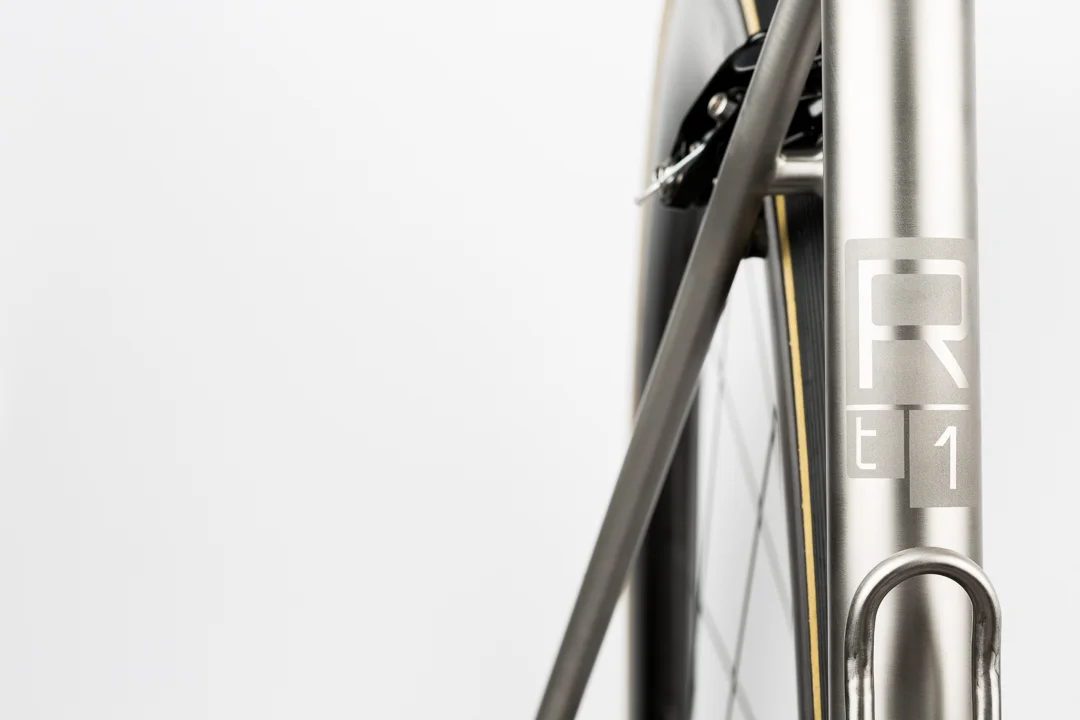
Seat tube branding detail on the Mosaic RT-1

Overside 44mm head tube with the Chris King Inset 7 headset
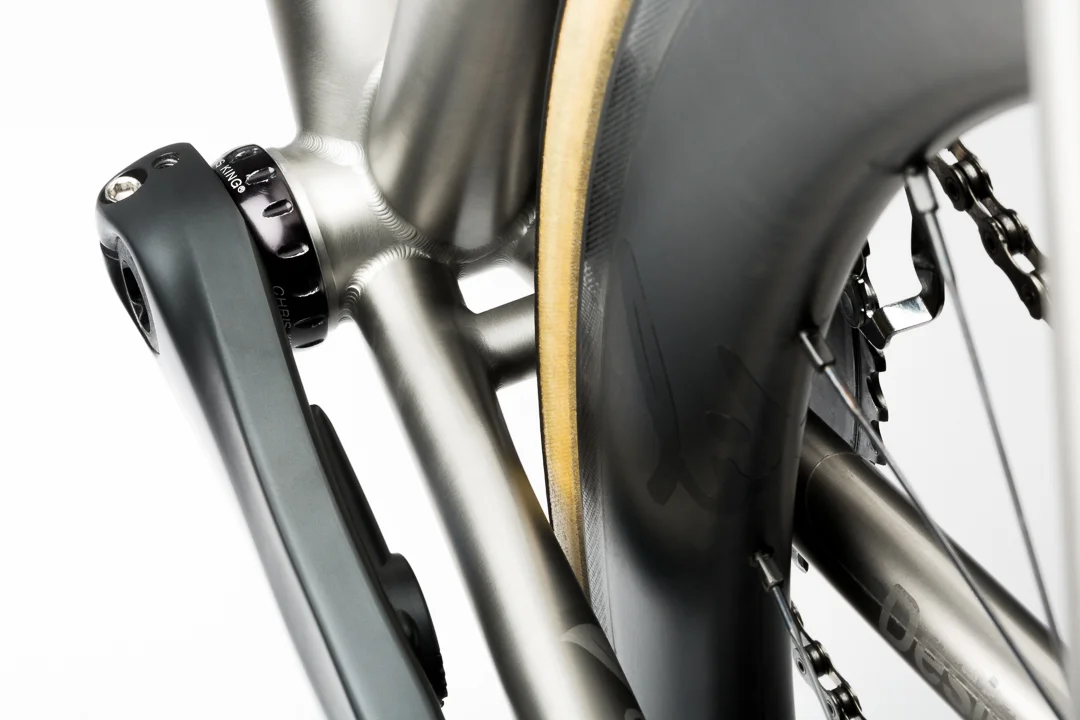
Plenty of tire clearance and power meter on the Mosaic RT-1 chainstays.
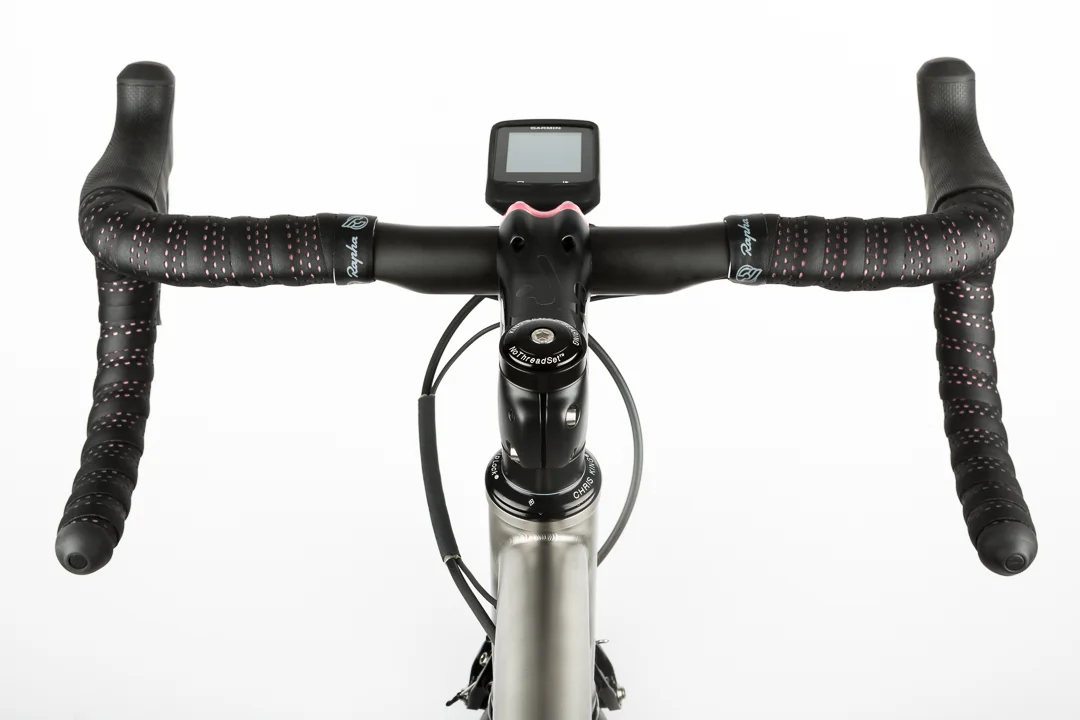
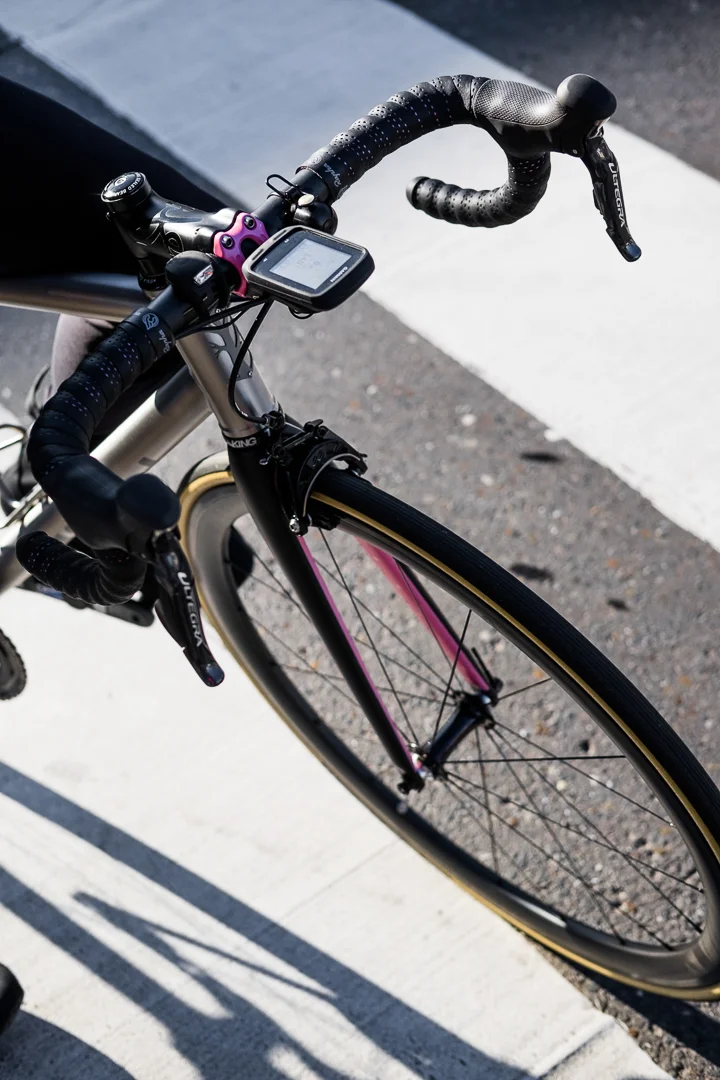
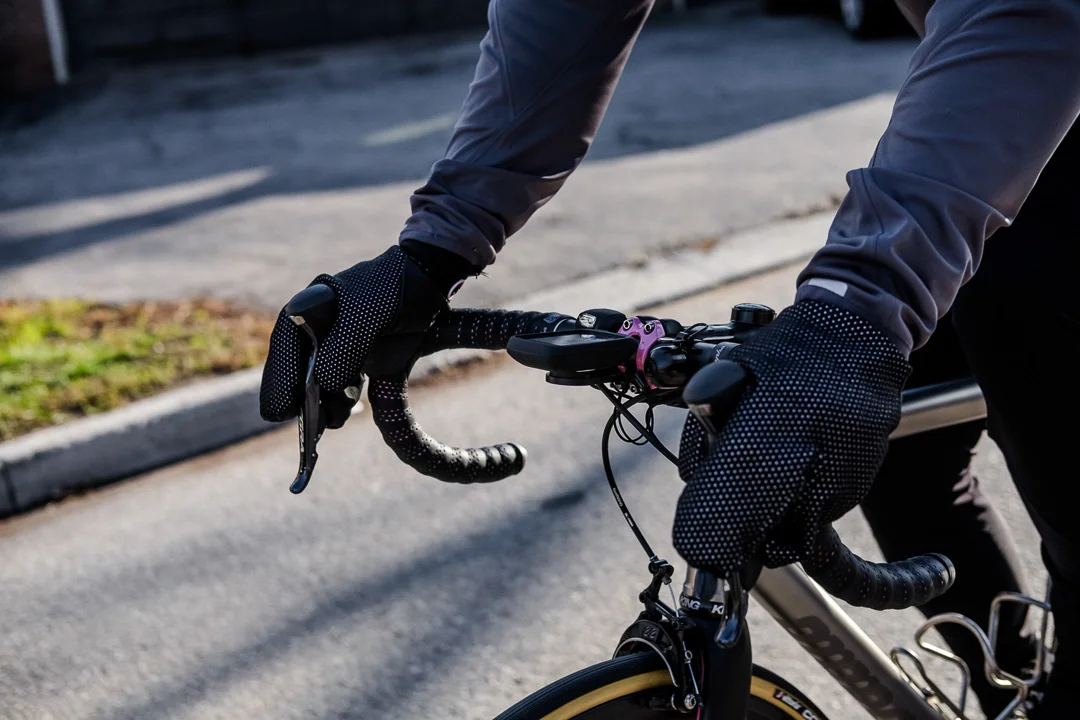
Riders view of the cockpit on the Mosaic RT-1
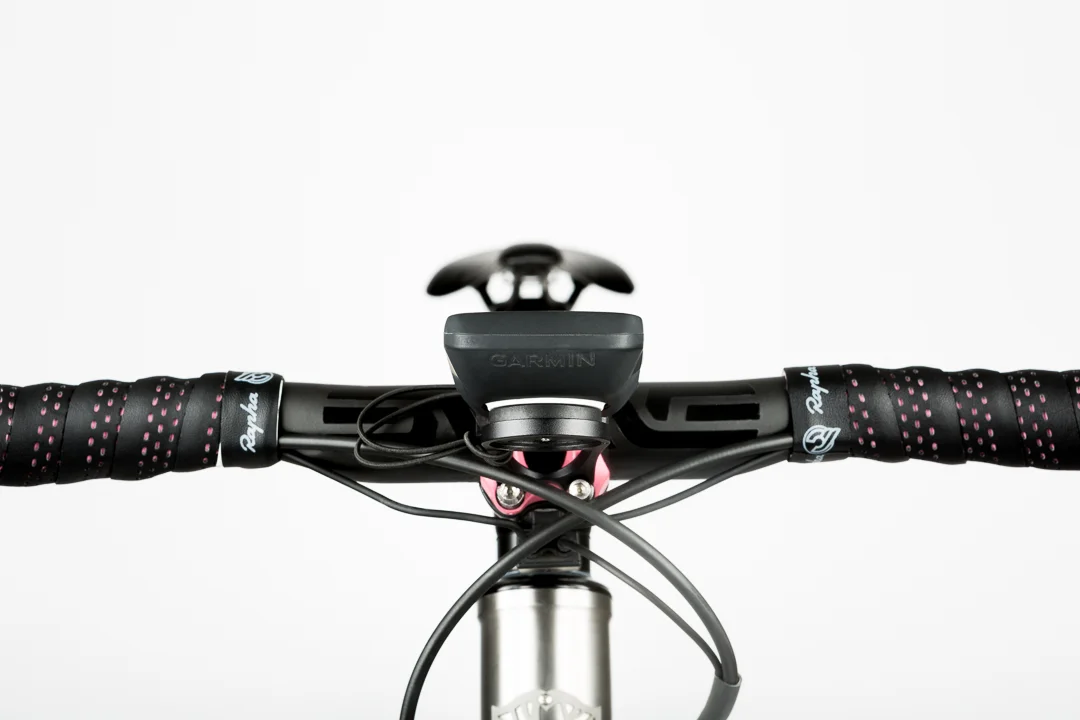
Clean computer integration withe ENVE out front Garmin mount V2
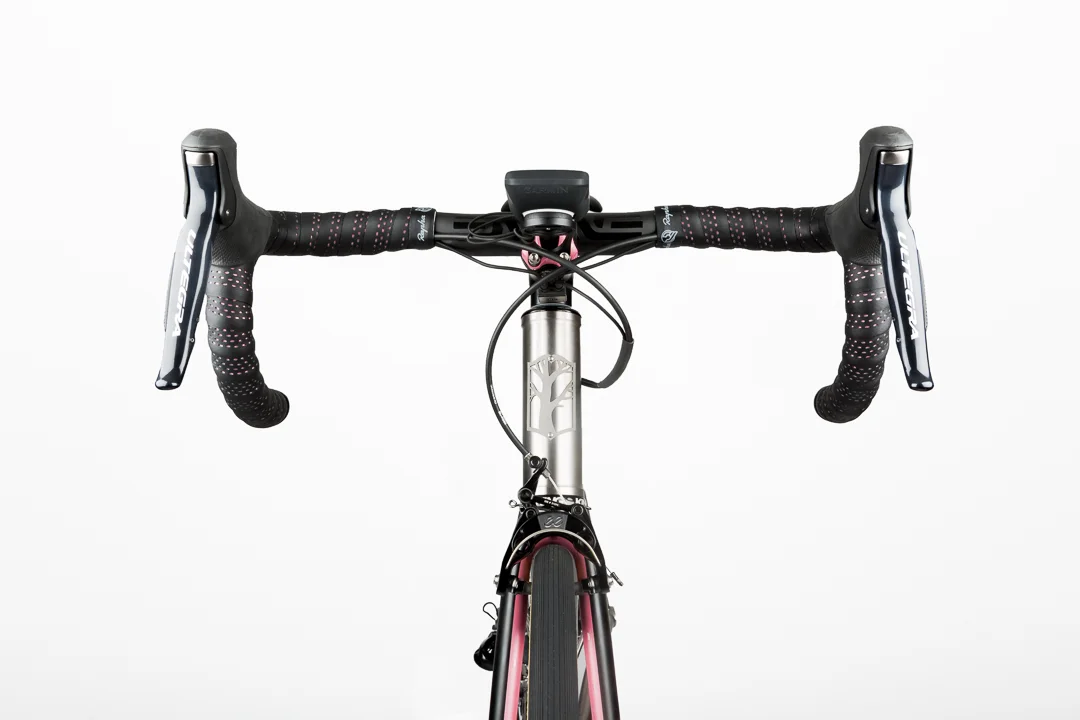
Front end view of the final Mosaic RT-1 build
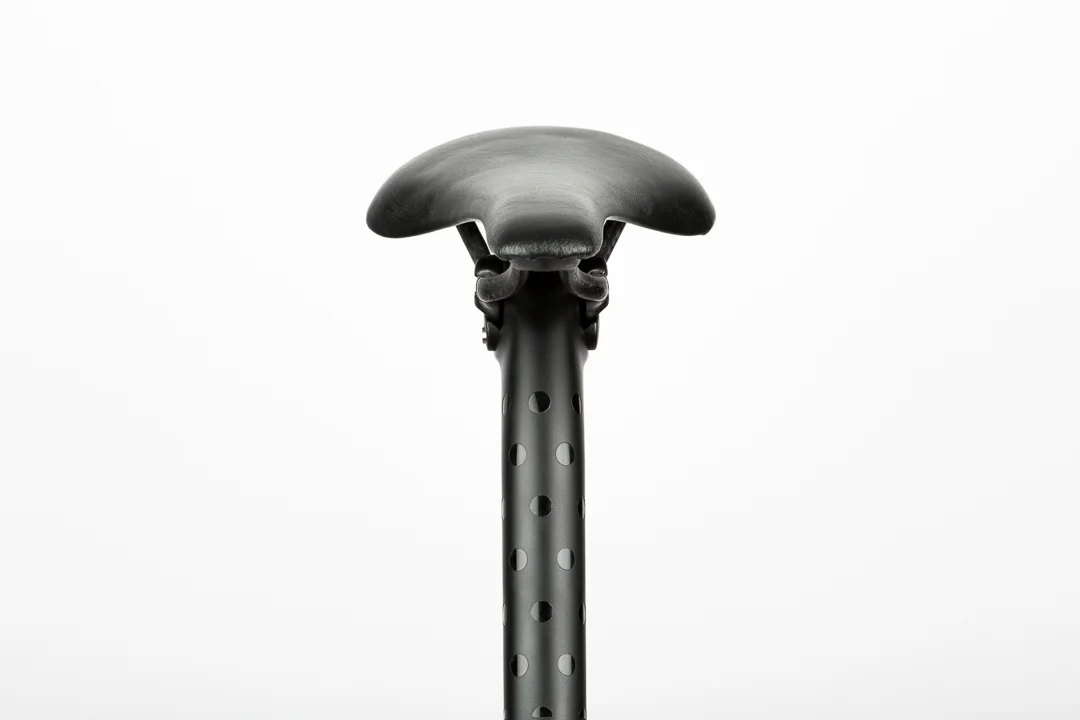
My custom covered Fizik Antares saddle atop the VeloColour painted ENVE seat post
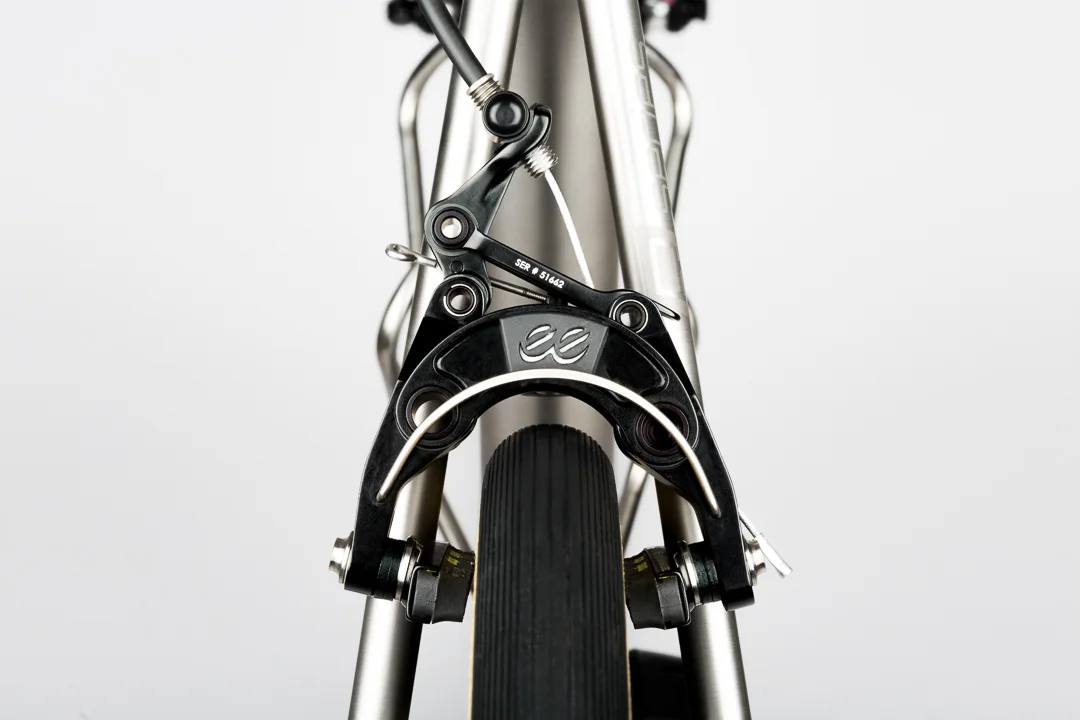
The eeBrakes are a perfectly matched pair with the Mosaic RT-1 with plenty of tire clearance for 28mm tires
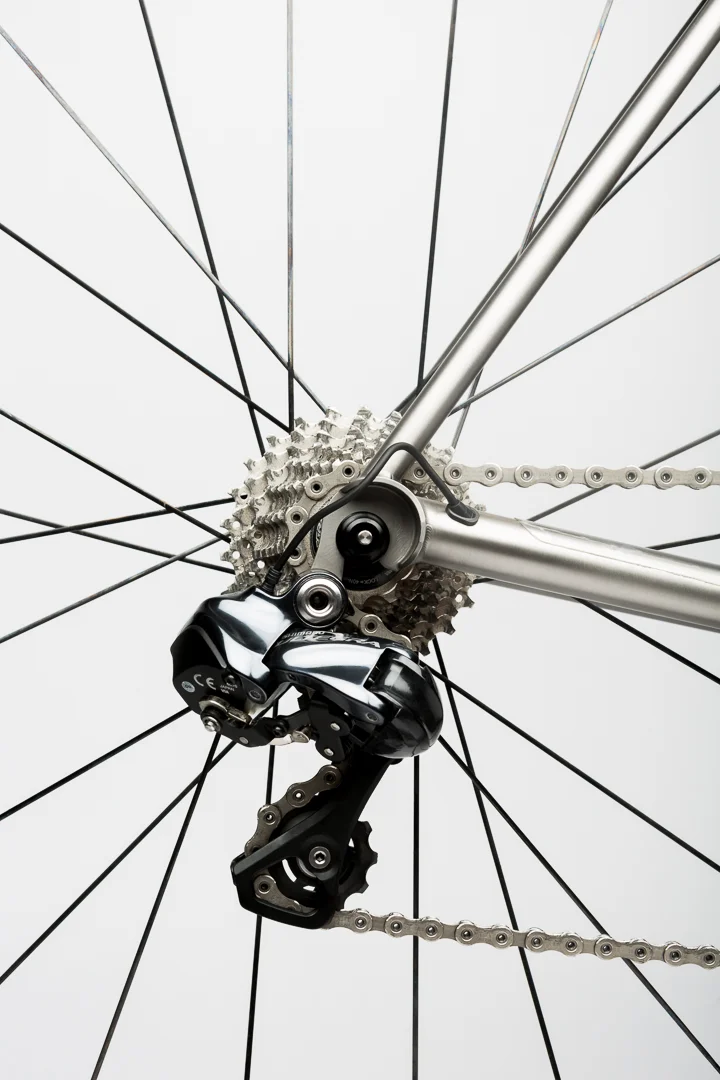
Super clean rear derailleur Di2 cable routing on the Mosaic RT-1
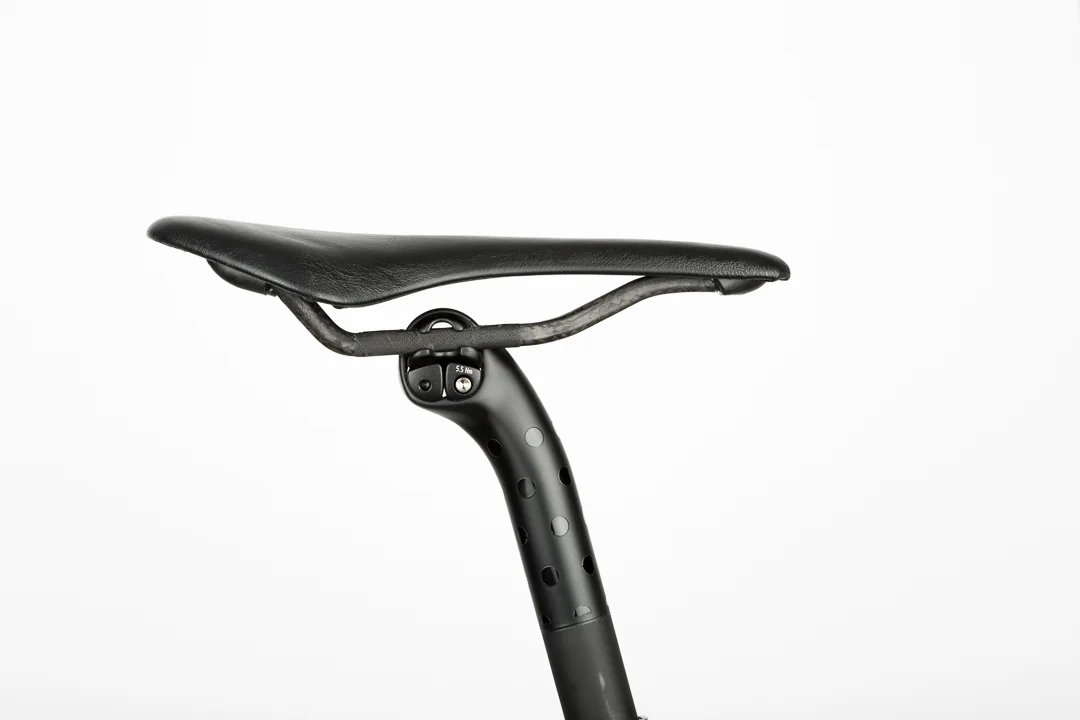
Side view of my recovered Fizik Antares Carbon saddle atop the VeloColour painted ENVE seatpost
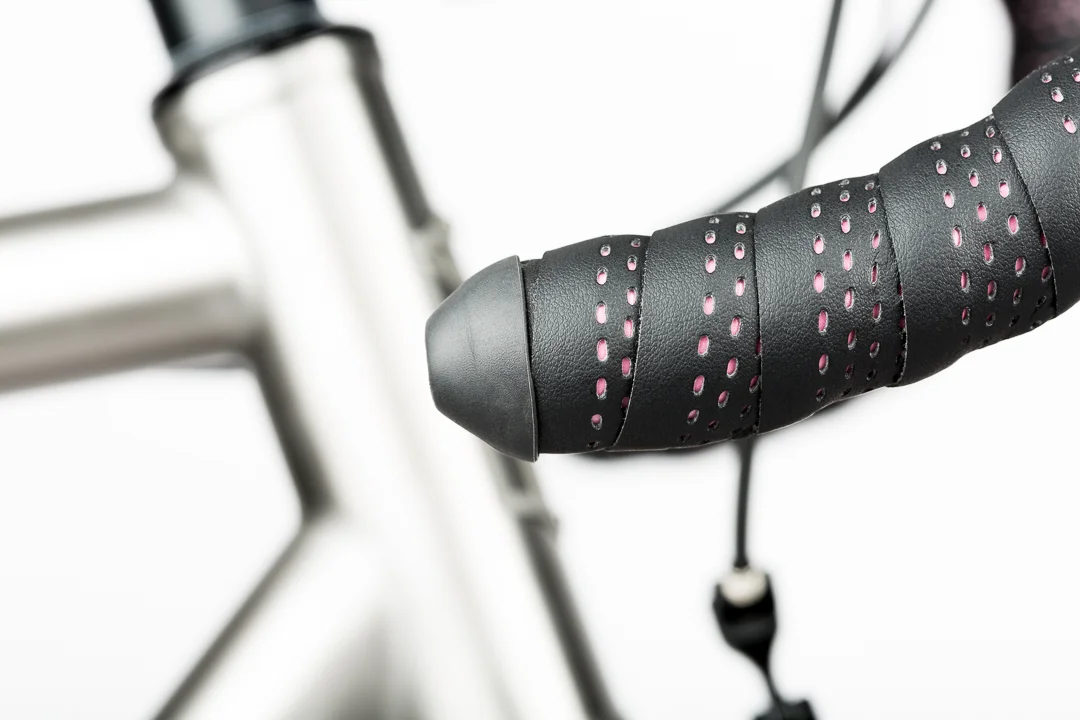
The Rapha x Cinelli limited edition bar tape is a perfect finishing detail with the ENVE compact road bar and Mosaic RT-1
Build List
- Final weight: 16lb 15oz including pedals, computers and all below.
- Frame: Mosaic RT-1
- Headset: Chris King Inset 7
- Headset spacers: Tune Magnesium
- Compression Plug: Extralight UltraStar 3
- Seatpost clamp: Tune Schraubwürger
- Seatpost: ENVE 2.0 setback
- Seat: Fizik Antares Carbon Braided (Recovering story)
- Saddle roll: Custom (My story)
- Stem: ENVE Road 110mm
- Bar: ENVE Road Compact
- Bartape: Rapha x Cinelli Limited Edition
- bottle cages and hardware: King Cage Ti
- Brakes: eeBrakes 2015 edition - (My review)
- Brakepads: Swiss Stop Black Prince
- Front derailleur: Ultegra 6870 braze on
- Rear derailleur: Ultegra 6870 short cage
- Bottom Bracket: Chris King ThreadFit 24
- Crankset: Ultegra 6800 172.5mm
- Power Meter: Stages Ultegra 6800 v2
- Chainrings: Ultegra 6800 & AbsoluteBlack oval road (My review)
- Chain: Dura Ace 9000
- Chain catcher: AbsoluteBlack Road Chain Catcher Braze-on
- Shifters: Ultegra 6870
- Cassette: Ultegra HG EV 12-25
- Rims: Yishun 38/50 wide profile (My review)
- Hubs: Chris King R45
- Spokes: Sapim CX-ray
- Innertubes: Continental Race 28 light
- Tires: Vittoria Corsa Open G+
- Skewers: Tune DC14
- Pedals: Look Keo Blade
- Polar/garmin/computer mounts: ENVE
When looking at the final build list I'm glad I spent the time picking and choosing all the right bits. There is nothing I would change. In the future I may add a GoPro camera to a custom mount on the bottom of the ENVE outfront mount, but right now I just want to enjoy my new bike.
First Ride Impressions
One word review… WEEEEEE!
You'd think with all the built up anticipation I wouldn't have been able to wait to ride it. Oddly enough I was quite reluctant. When I got home a sort of sense of sadness came over me. Riding the new bike would mean the project had really come to an end. I'd been having so much fun that I wasn't really ready to move on. It also didn’t help that it started raining the moment I got home and kept raining for almost two weeks straight. Then I got sick… twice. The cards were stacking up against me.
But before getting sick I was able to get the bike on the trainer for a quick spin on Zwift. After that I was really excited to get outside and planned a day out riding and shooting with fellow cyclist and photographer, Seetoh Lang (more on him in a future post).
My takeaway impressions from that ride were strong and clear. Blacksmith Cycle and Mosaic Bespoke Cycles did an amazing job of building a bike that exemplifies the best characteristics that I've loved about bikes I've ridden in the past but found all the things I was still chasing. They basically nailed it. It fits like a glove and rides like a dream. Best part, it's got that certain personality to the ride that only an alloy frame possesses. As soon as I started rolling I could feel all the life it's putting into my years.
The winter is not the best time to really feel how a bike rides. It's too cold and we're all wearing too many layers. Honestly, writing a review beyond initial impressions wouldn't be true or fair. For now I'll get it on the trainer a bunch to iron out any kinks in the system and finalize the position before spring. Stay tuned for a proper and detailed review next summer.
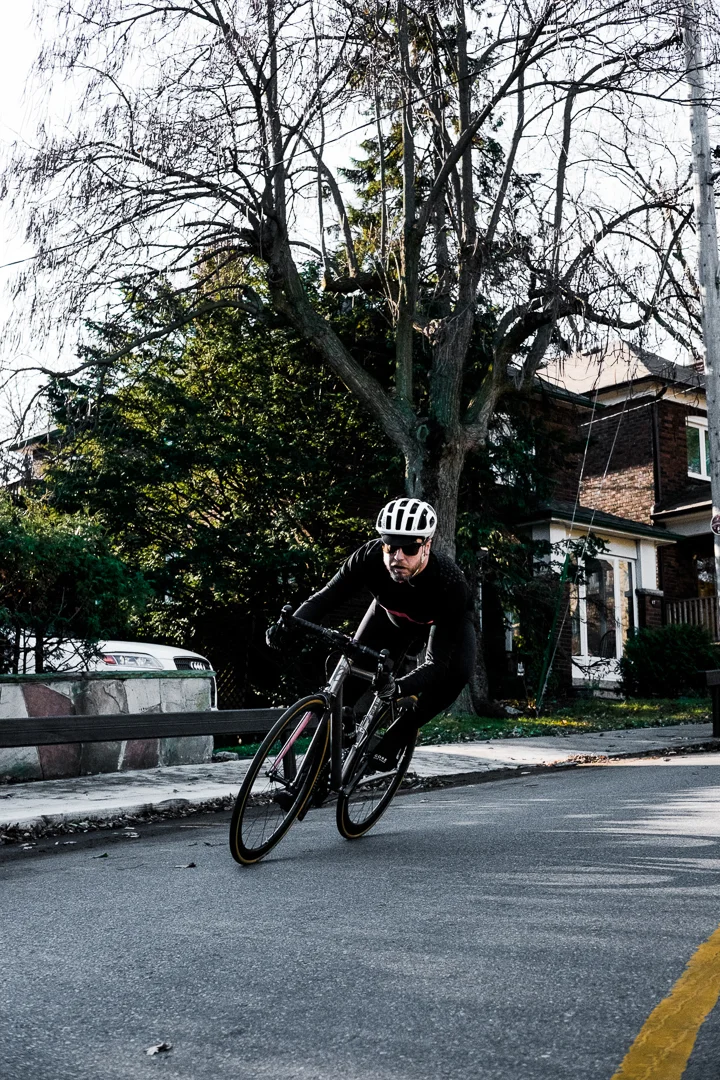
Breaking in the Mosaic RT-1. Photo courtesy of Seetoh Lang
The way the light catches the pearl pink'd fork on my custom painted ENVE 2.0 fork.
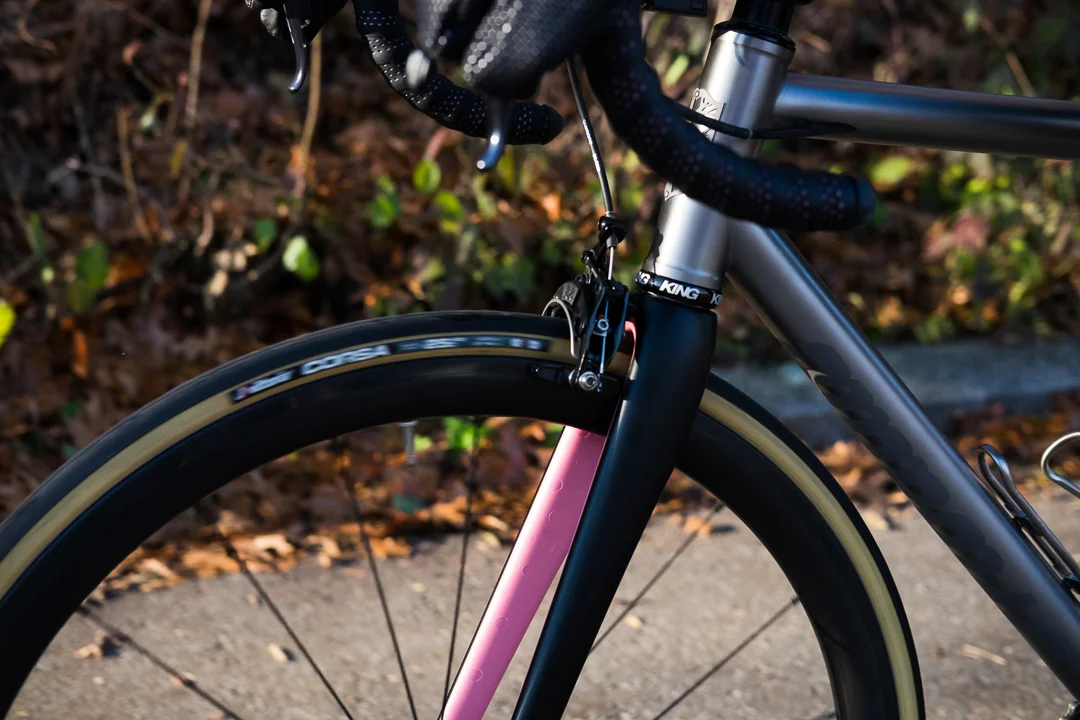
The VeloColour painted ENVE fork on the Mosaic RT-1
The way the work from Blacksmith Cycle, Mosaic, and VeloColour came together on this RT-1 is absolutely perfect.

The Mosaic RT-1 climbs like a dream. Photo courtesy of Seetoh Lang
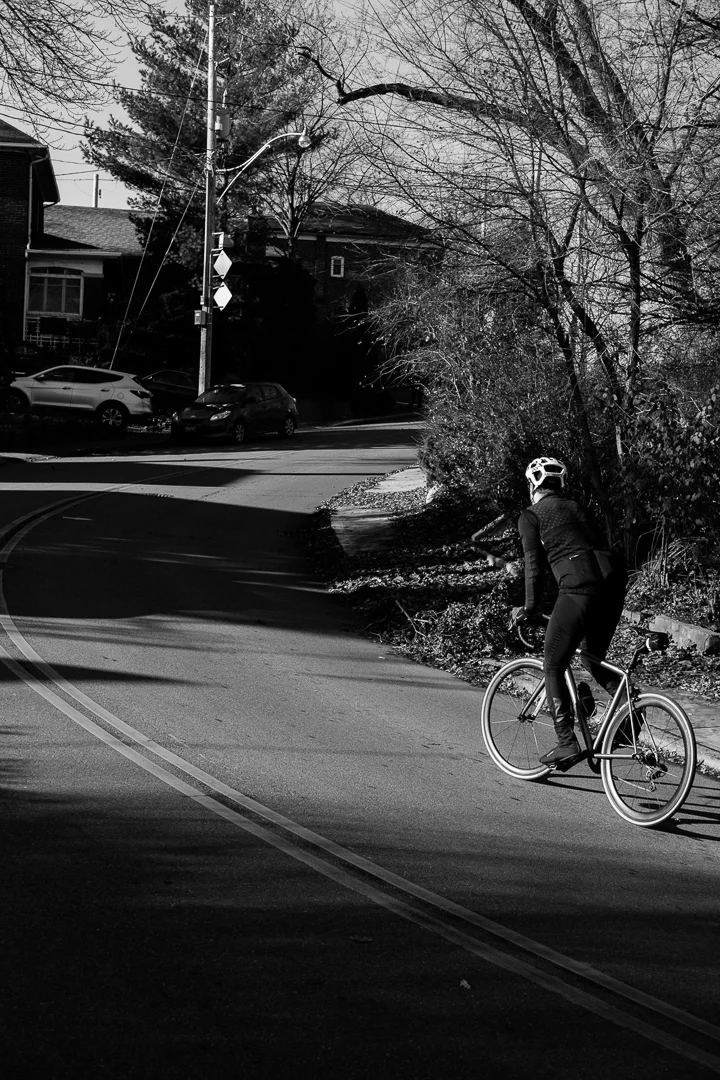
Climbing the Ellis Ave wall to break in my Mosaic RT-1
Velocolour nailed the pinks for my Mosaic RT-1. Photo courtesy of Seetoh Lang

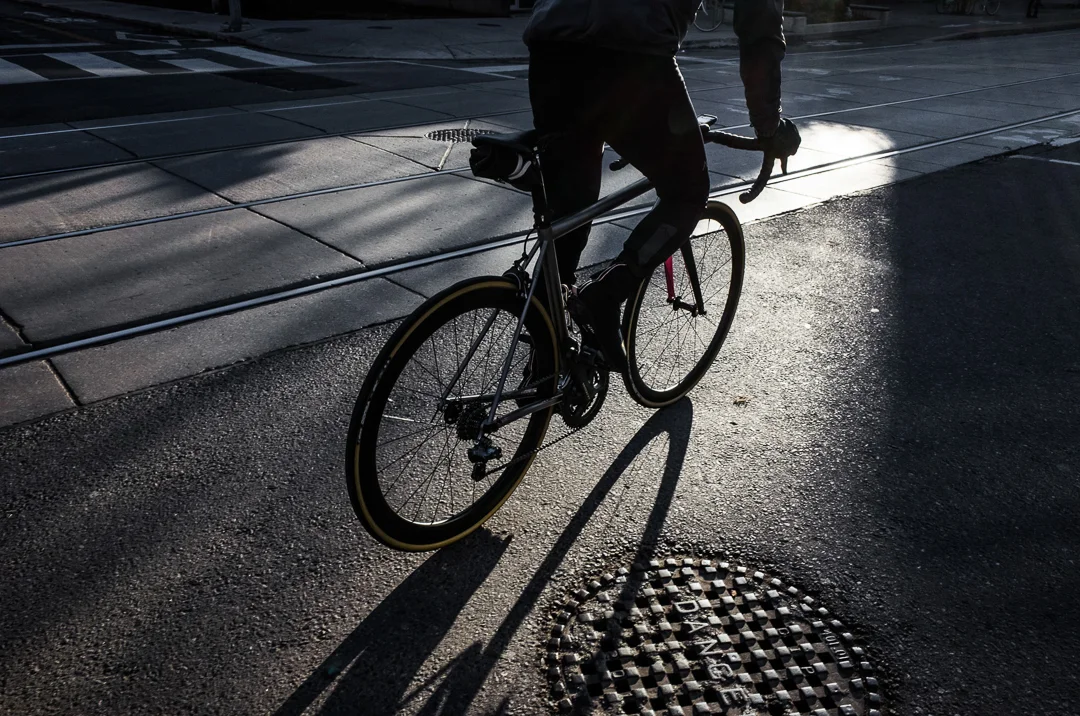
Fun winter run breaking in the Mosaic RT-1
Despite the freezing temps, the Mosaic RT-1 rides like a dream come true.


